Replacing a Shaft: How I Do Club Repair (and you can too!)
October 17, 2010
For the masses, golf club repair is black hole. How the club manages to stay together is mystery of modern science, best left to the professionals at the pro shop. Unfortunately, those professionals are in the business of club repair to make money off of this mentality, and the fees for simple tasks (changing a grip) are too much for the average golfer to experiment with different types of equipment.
For me, clubmaking and club customization was always something I wanted to understand, because I knew it would be helpful to avoid these fees if I were to find the equipment combination that worked best for me. Simple club repairs–like replacing grips, spikes, broken shafts, etc.–can save a great deal of money on golf equipment. Moreover, if you’re the kind of person that likes to try different things, understanding how to change equipment components by yourself can be the difference between trying a few things versus staying with equipment you really don’t like because it would be too expensive to change.
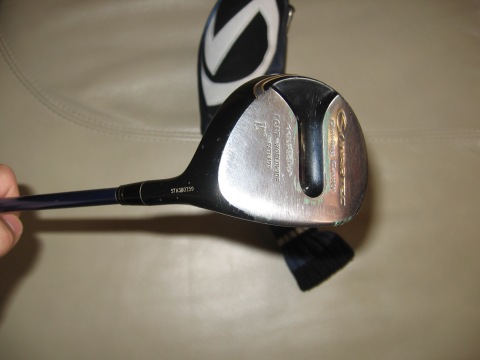
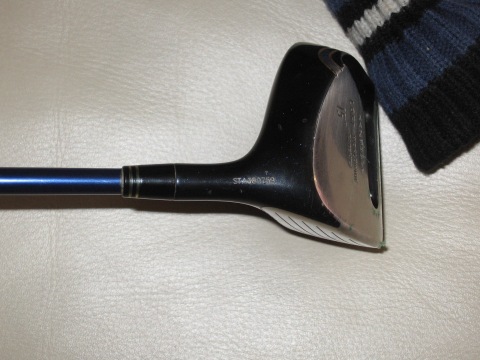
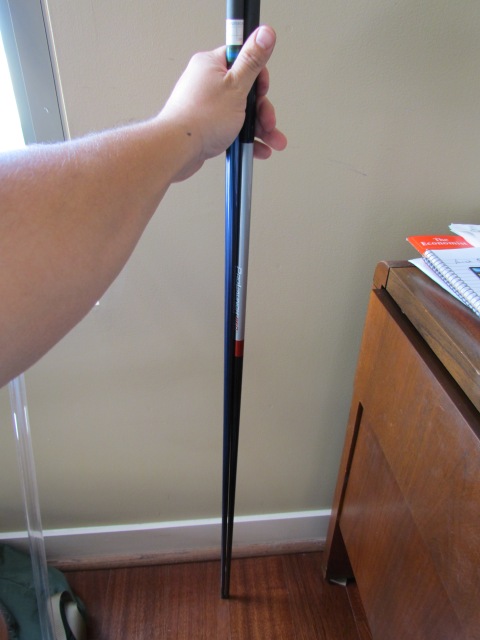
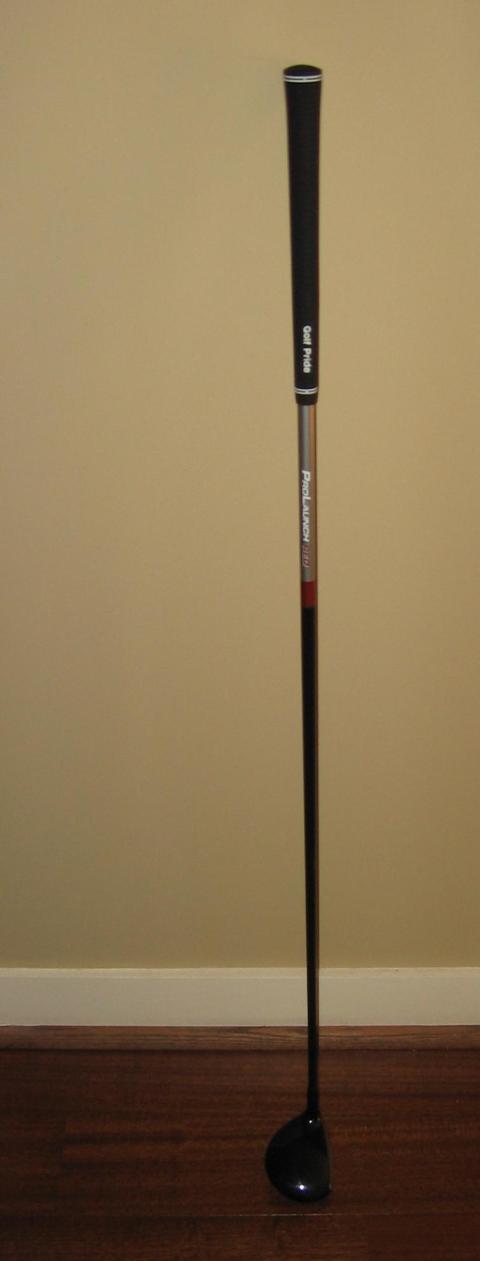
Today, I will change the shaft of a club I purchased on ebay. The club is a Sonartec NP-99 fairway wood. The model is a few years old, but I bought it for $8.50 on ebay, and it was exactly the head I wanted. The stock shaft (although a very nice Aldila NV) was not what I wanted, so I needed to change it out. I purchased a used Grafalloy ProLaunch Red on ebay for $10 and decided to switch out the shafts. Here’s is the procedure. (For a list of materials, skip down to the end of the post).
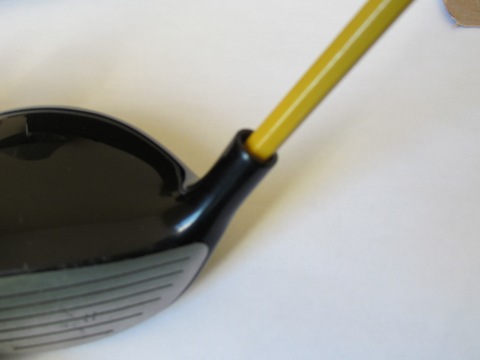
Before Pictures:
The first thing to do is separate the head from the current shaft. I have never tried to do this myself. It’s not terribly difficult, but it does require a blow torch or heat gun and some other equipment–heat gloves, possibly a Mitchell Shaft Puller. For me, it’s better to just bring it into a shop and pay the professional to pull the head. It does cost, but not as much as full club repair, and they can almost always get it back to you immediately–full club repair requires a day or two (or 3 or 4). IMPORTANT, when you are at the golf shop, be sure to ask for a ferrule. They will almost always give you one for free, and you’ll need it to put the club together.
====================================================================
12/28/2010 Update: I have recently pulled my own golf shafts without a Mitchell Shaft Puller. Although you absolutely must use a Mitchell (or similar) for pulling graphite, you can pull steel shafts by following the directions on the link below. A Bernz-O-Matic propane torch, a sparker, and a heat-resistant glove is all you really need. Do not attempt this for graphite, as the “twisting” will splay the graphite shaft and make it unusable; also, the amount of heat needed to do this by hand will damage the graphite shaft. However, it works great with steel.
====================================================================
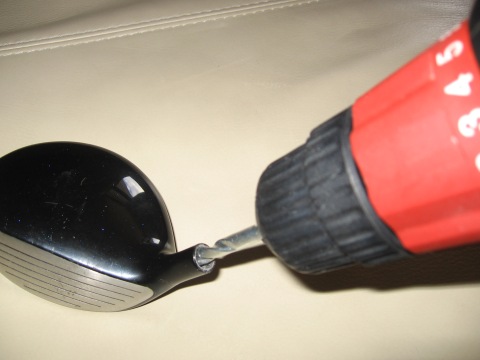
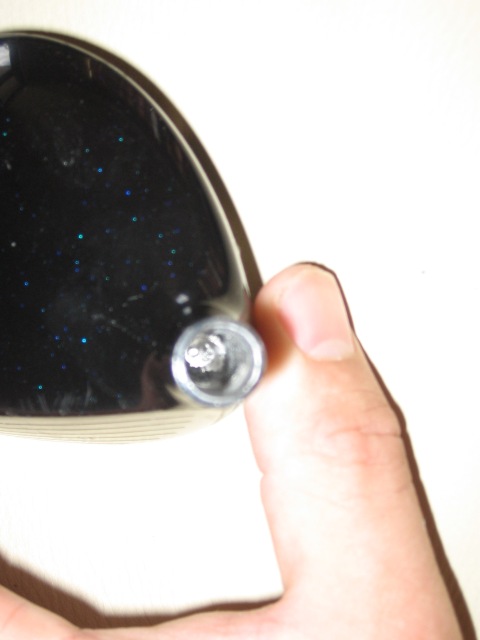
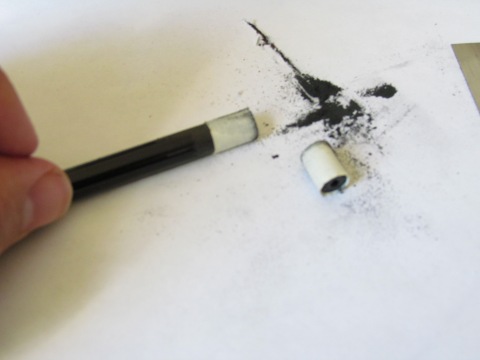
You will notice that the inside of the shaft bore has shavings left over from the epoxy that was in the prior connection. This will need to be cleaned out.
Use an appropriately sized drill bit to remove the leftover epoxy. Once completed, I also like to use a wet paper towel to ensure that the dust is removed as well.
If you intend to use the old shaft again, you must drill out the epoxy that has bonded to the inside of the shaft, and you must clean the epoxy off of the outside of the shaft. Cleaning the outside of the shaft consists of simply scraping off the epoxy with a vertically-aligned razor blade. In other words, don’t angle the razor blade, as you could cut into the shaft. Simply hold it perpendicular to the shaft and scrape downwards toward the tip.
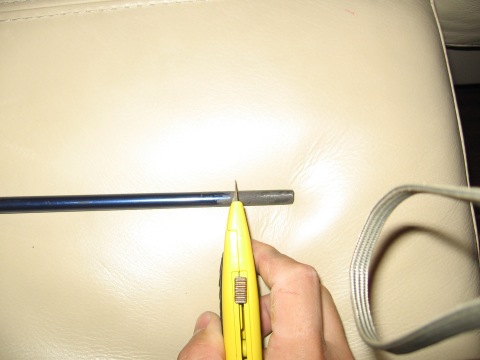
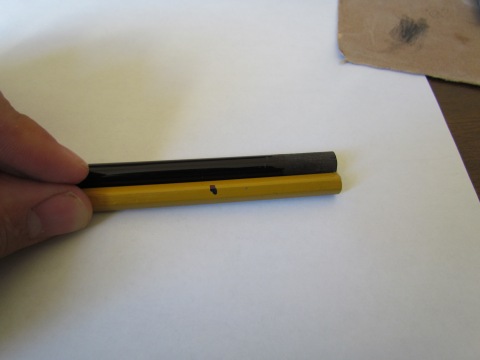
Now that the club head is clean, I will start prepping the shaft. The first thing I will do is trim the tip–a process known as “tipping the shaft.” Golf club shafts come in different flexes that have different ratings for toque, stiffness, etc. But what if you’re between flexes and can’t find the one that’s right for you? Tipping the shaft makes the club play a little stiffer than the flex, so you can custom build a shaft to exactly what you want. On this shaft, I’m tipping 1/4 inch.
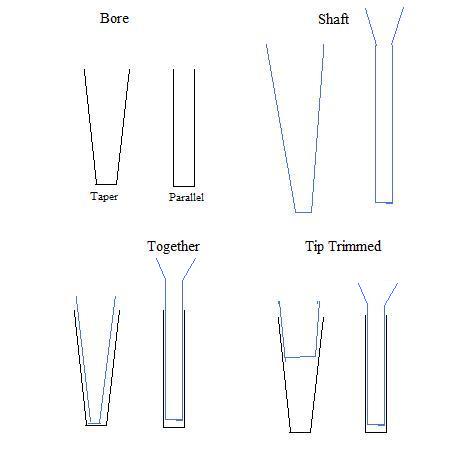
IMPORTANT: tipping is possible only when you have a parallel tip shaft. This means that the bore in the golf club is the same diameter all the way down, and the shaft matches that. Typically, a parallel shaft will have a certain region that is parallel before it begins to widen. Although the butt of the shaft is bigger than the tip, a parallel tip shaft does not begin getting wider immediately at the tip. Instead, it has a region that is parallel (usually 3″–you can check the specs for your particular shaft) before it begins widening. The rough drawing below shows the difference between parallel and taper shafts and why you cannot tip trip taper shafts.
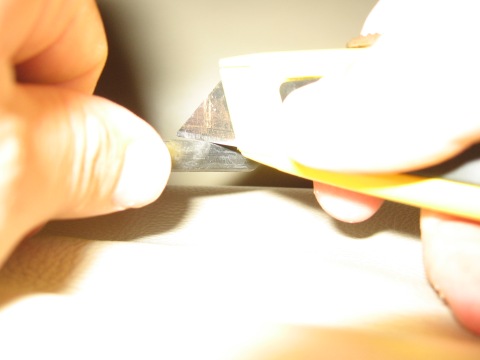
The photographs below show my tip trimming. WRAPPING THE SHAFT WITH MASKING TAPE IS VERY IMPORTANT! If you attempt to cut the shaft without masking tape, you could splinter it. Moreover, make sure you do not treat it like a piece of wood, cutting 90% and then “snapping” it. This can also splinter the shaft, making it too weak to use.
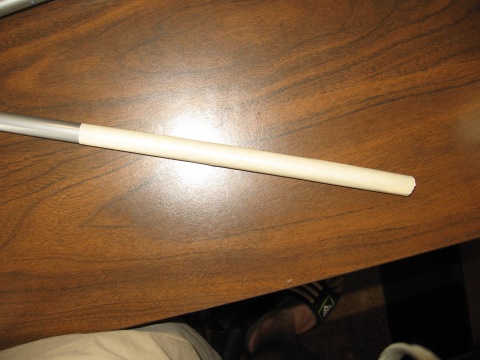
After trimming the tip, I measure the length of the shaft. I liked the length of the old shaft (just not the flex or the type), so I put a blue line on the new shaft where it measures against the old one. I’m not going to cut it now because I may find out I want a little more length once the club is together, and it’s easier to take off than to put back on.
Next, I measure the length of the bore by putting a pencil into it. I mark it with a blue marker for comparison later. This will tell me how far I need to prep the shaft with sandpaper.
After sanding around the tip, I check it against the actual club to ensure that the tip prep is slightly longer than the depth of the bore. The shaft should slide easily into the bore without catching or needing to be forced in. This gives a little room for the epoxy to grab the shaft and the bore and hold them together.
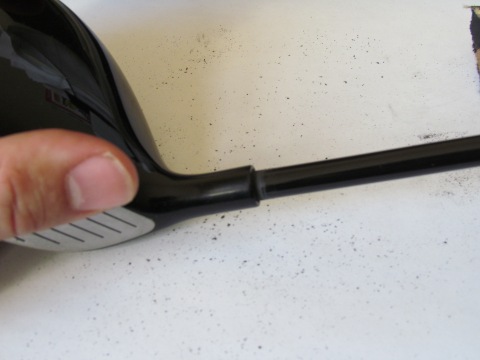
The next step is to seat the ferrule. Many clubmakers like to seat the ferrule on the club during the actual installation. I’ve found that this is just too hard for me, and I do it ahead of time. In order to set it, slide the ferrule over the end of the shaft until it stops on the shaft. IMPORTANT: DO NOT file back the ferrule or sand down the shaft to make the ferrule fit. The ferrule needs to be extremely tight around the shaft. If you cannot get the ferrule over the tip of the shaft, it is OK to sand down just that portion needed to get it on. However, do not sand down any other part of the shaft or file down the ferrule. It get the ferrule seated, first slide it onto the shaft until it goes no farther. Then, dry fit the shaft into the club head with the ferrule on. Smash the assembled club/shaft/ferrule against the ground or the hard surface of a work desk. This will slide the ferrule up the shaft and seat it in the right location. You will know you have gone far enough when the sound of the banging changes slightly. I also checked it against the pencil to make sure it was correct.
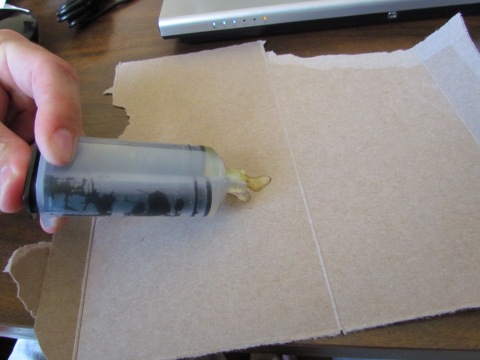
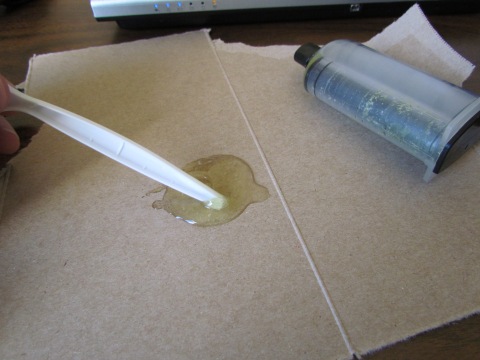
Mix the 2-part epoxy, place it all around the shaft tip and into the bore, then push the shaft into the bore. The epoxy used is a simple 5-minute, 2-part epoxy that can be picked up from a home improvement store for around $5. When you push the shaft into the bore, some epoxy will squeeze out. Simply wipe it up with a paper towel. Do not try to pull the shaft out and put it back in, as you may form gaps or voids in the epoxy that can weaken the joint. The epoxy will set in 5 minutes, but the club wont be ready to hit for at least a few more hours, and the epoxy won’t fully cure for a day. I find it’s always best to be cautious. The ferrule may mushroom a bit from the attempt to seat it. If this happens, don’t worry. Simply take it to a professional for “turning.” Most will do it for no charge or only a small charge. You can also try belt sanding it yourself, or you can use acetone. In this case, the ferrule looks pretty good against the outside of the bore, so I wont need any extra turning.
After waiting the appropriate time, the club head is now attached and ready to play.
See, wasn’t that easy? But, we have to put a grip on. Putting grips on is pretty easy, so don’t sweat it.
First, do any butt trimming of the golf club that’s needed. Then, wrap the butt end of the club with grip tape. You can pick up some grip tape from Golfsmith–it’s not expensive, maybe $5 for a roll that lasts me about a year, maybe 2. When you put the tape on, make sure that it extends beyond the end of the butt and wraps over it. You will not be able to get the grip over the butt if the tape has not been wrapped over the butt end and into the shaft. The procedure for installing the grip is pretty simple: 1) wrap the butt end with grip tape, 2) pour mineral spirits into the grip and over the grip tape, 3) use your thumb and forefinger to squeeze the opening of the grip and get it over the butt, and 4) slide the grip on. The grip may be misaligned with the club head, but it’s usually fairly easy to twist the grip back into place once it’s been installed. Wait 15 minutes for the grip tape to dry, and it should be ready to swing. A few hours and it will be fully cured.
So, that’s the complete change of a golf club. I replaced the shaft and installed a new grip. It really wasn’t that hard and didn’t really use any special materials. I trip or two to the golf store for some help, and you’re good to go. I’ve saved a lot of money and put in exactly what I wanted.
What it cost me? $8.50 for the club head (and shaft I didn’t want), $10 for the right shaft, and $3 for the grip= $21.50 for a perfect club.
What I needed to put on the new shaft:
-A club head and a shaft
-A ferrule
-A golf shop to pull the old shaft, or a blow torch/Mitchell shaft puller
-A drill with at least 2 drill bits, appropriately sized to a) clean the shaft bore, and b) clean the old shaft
-A box cutter/razor blade to clean the old shaft
-A clean cutting fine saw to trim the shaft, if needed
-Paper towells
-Sandpaper
-5-minute epoxy
What I needed to put on the new grip:
-Grip tape
-Mineral spirits
-A new grip
Let me know if you have any questions. I’m happy to help.
-JK
—————————————————————-
Comments from LG:
I talked to the guys at Golfsmith and they actually cautioned me against using 5-minute epoxy. They recommended using 30/60 epoxy that takes a little while longer to cure. Their reasoning was that the 5-minute epoxy tends to break down more quickly and can result in clubheads snapping off. Any thoughts, JK?
—————————————————————-
Response from JK:
I don’t know about the difference in epoxies for use in golf club repair. What I do know is that Edwin Watts uses 5-minute epoxy. That’s where I got the reference for 5-minute instead of other types. Considering that’s their bond of choice, I think it’s OK for me. I haven’t had any problems with it, and you know I swing about as hard as anyone.





















October 24, 2010 at 12:41 pm
“Turning” the ferrule is actually the easiest part…everyone’s wife has acetone (fingernail polish remover) and a paper towel. Little bit of acetone on the towel and twist with light pressure and it looks just like you took it to a shop. Scary if you’ve never done it, once you do, it’s a “duh, that was easy” moment. Great post!
December 17, 2010 at 12:55 pm
great post, thanks for sharing
October 14, 2011 at 1:21 pm
Hi JK, firstly a big thanks for the tips on how to change the shaft of a golf club. Your tips would really help me save alot in changing the stiffness of my shaft.
About the choice of epoxy, I do agree with LG that with a slower setting epoxy, one does get a tougher bond. But as long as your driver gets your shots to the green, I say great job with the shaft change and a big thanks once again for sharing your experience.
October 14, 2011 at 9:35 pm
Thanks much for the comment, BT. LG has actually had some problems with epoxy recently–perhaps he can chime in with a quick description of what NOT to use–not sure if it was the quick set or the long set.
Regardless, I think the question is somewhere immaterial. It may be true that you get a better bond, but how good does your bond need to be? As an example, let’s assume I need a paperweight, and I have two choices: one is a brick, the other is an automobile. Either will hold the paper, and the fact that the automobile is technically “better” at holding the paper doesn’t really matter–they both do the job.
To each his own, and I’m glad you found something we did helpful. AND FEEL FREE TO SUBSCRIBE!!!!
May 27, 2015 at 1:25 pm
The head of my driver snapped from the shaft. Would I be able to use the same shaft and put it back together or do I have to buy a new shaft?
May 27, 2015 at 1:38 pm
you’re going to have to buy a new shaft for a variety of reasons. first, all shafts have a limited range of parallel length at the tip (notice how the shaft gets bigger in diameter as it gets to the grip?). for drivers, it’s usually 3 inches, so you might run out of tip to bond. second, since you “snapped” it, you’re going to be substantially shortening the shaft if you just cut the tip off and re-bond it. this shortening will not only make the shaft play stiffer (which you may or may not care about), but it will also throw off the balance of the club (known as the “swing weight”). in other words, your driver will feel so light that it will be very hard to swing it accurately.
new shafts are not expensive. look on ebay and you can find something good that might be a few years old for <$20.
December 17, 2015 at 1:38 am
Hi I would just like to know I have broken my uncles driver it snapped off by the head some advise on fixing it would be very helpfully as this is his favorite driver and now oh well it is broken