LG Painting a club: new tips
December 23, 2010
Following JK’s lead, I decided to paint my clubs. Here are the before and after shots, as well as a description of my shortcomings and new tips.


Problems I encountered:
1) White is REALLY hard to get right. Be sure you’re committed to taking the time to do this process correctly if you’re going to go with white. The results (particularly the driver) are pretty amazing when it works though.
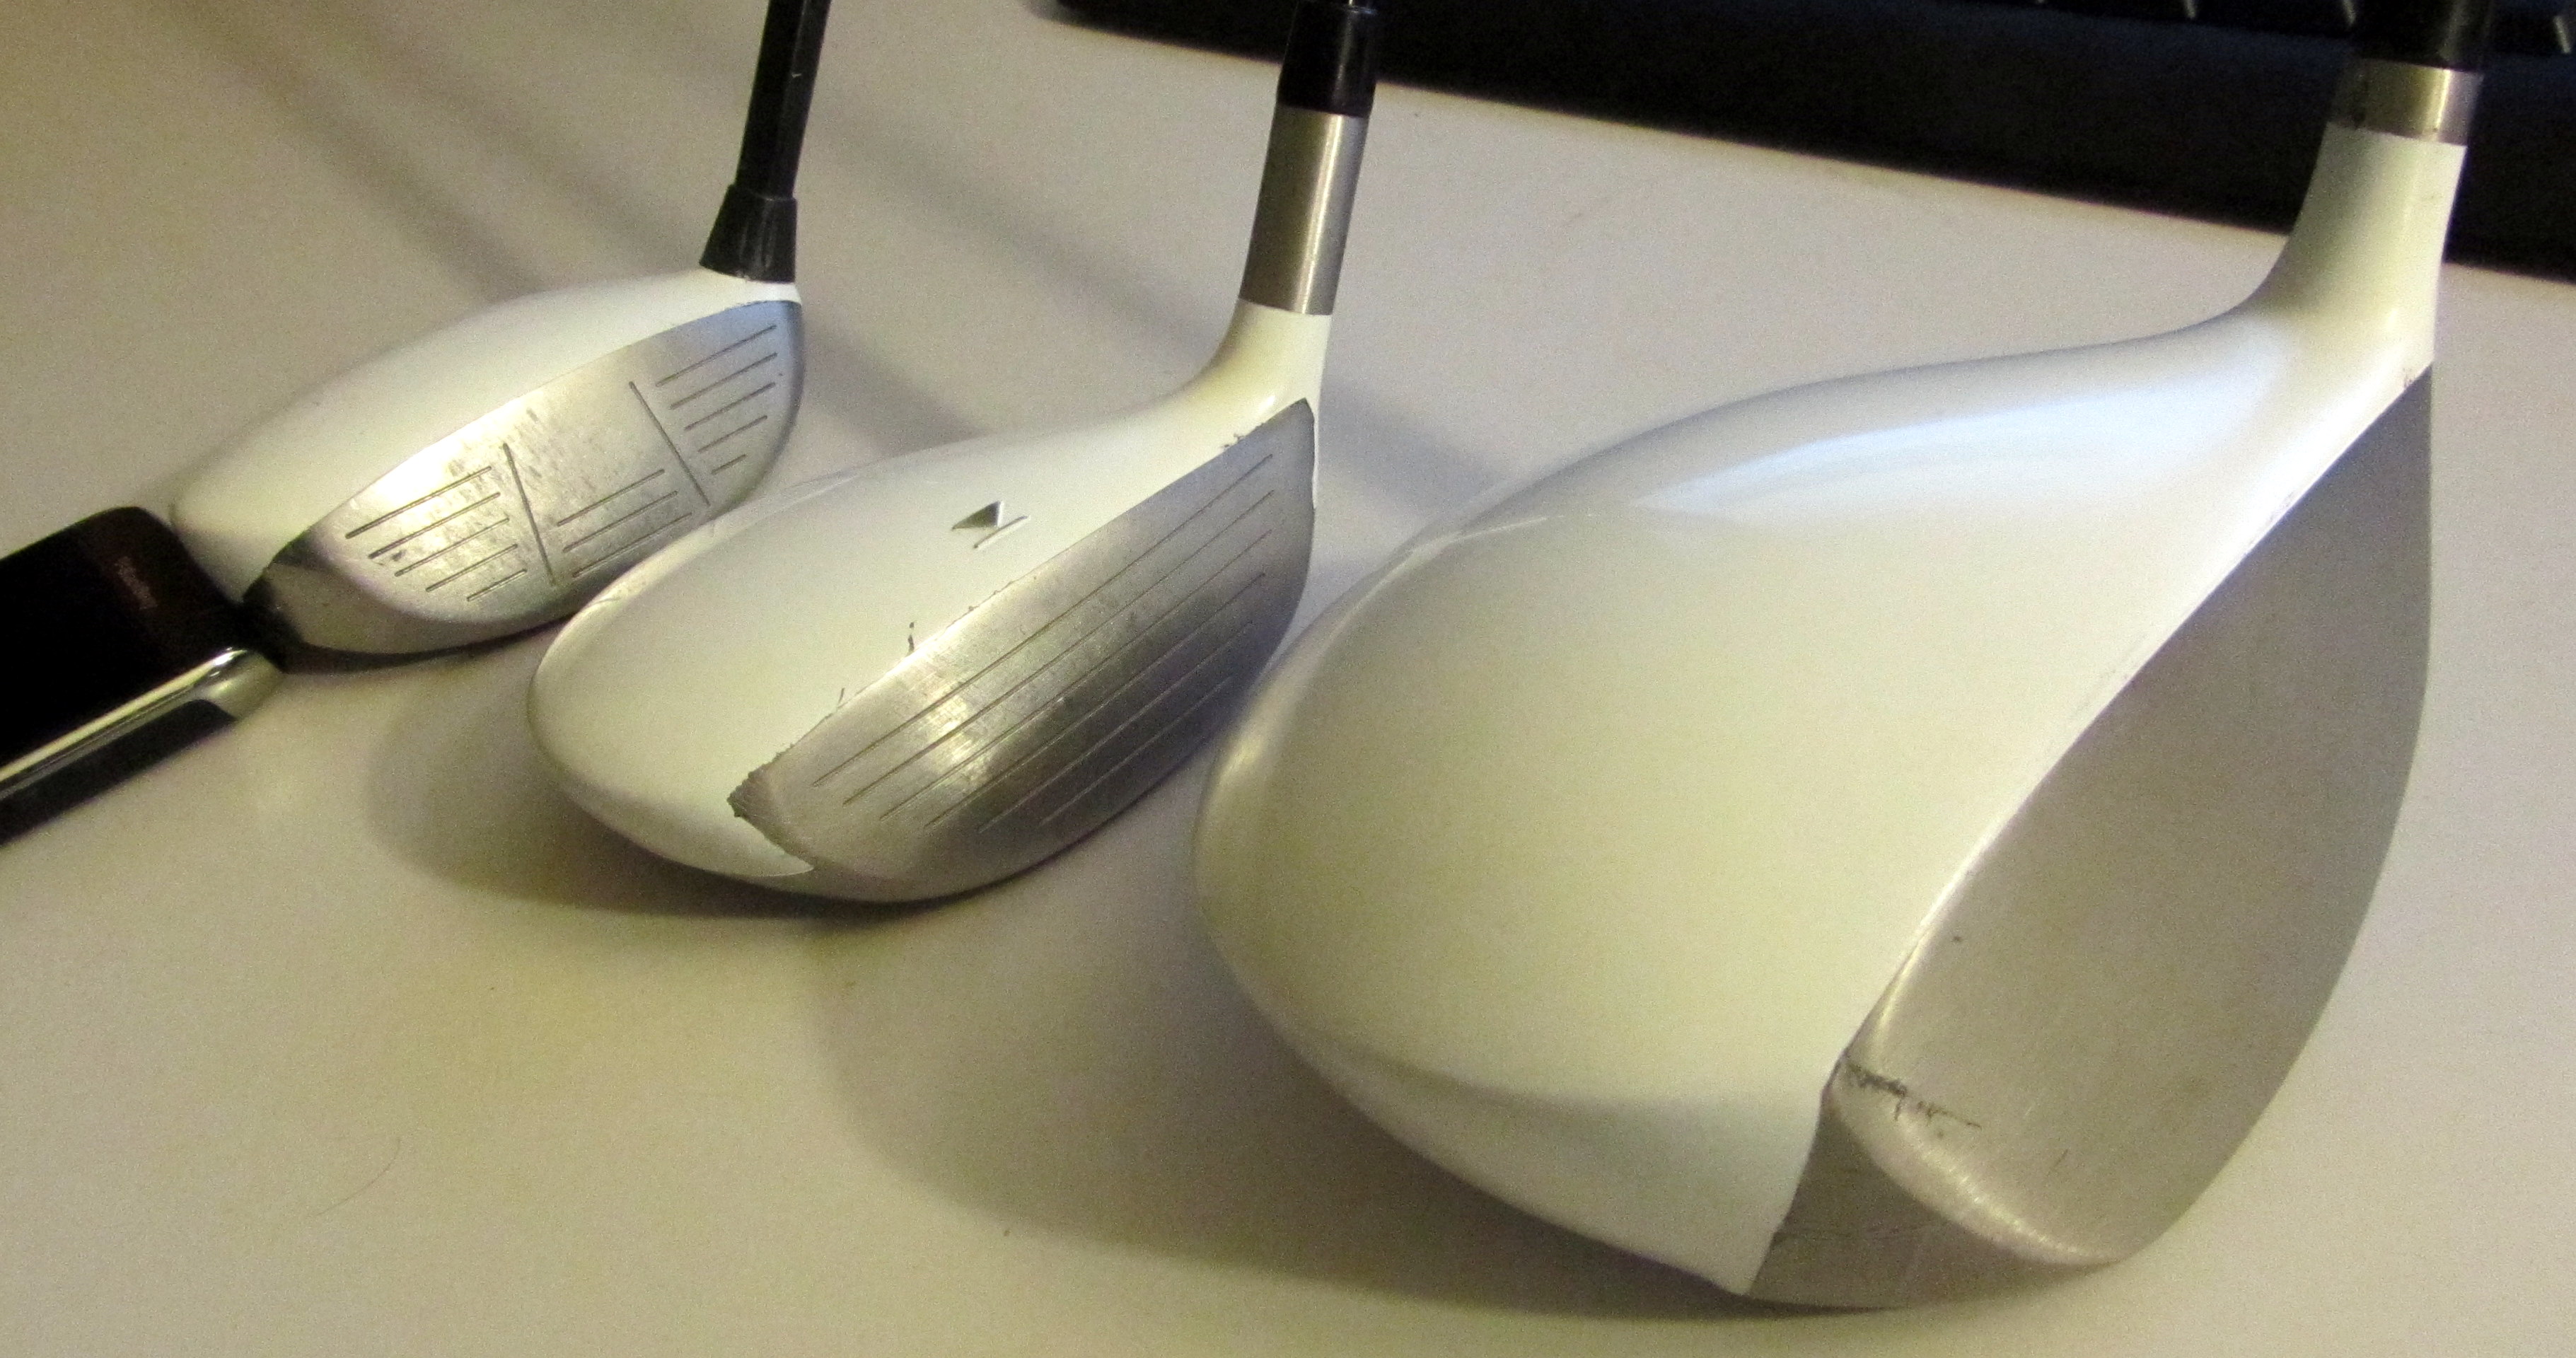
2) Electrical tape goo will mess up the paint if you catch any of it on the sandpaper during the polishing phase. Be extra careful, otherwise you’ll get black smudges like i did on the Titleist 3w and the Callaway hybrid.
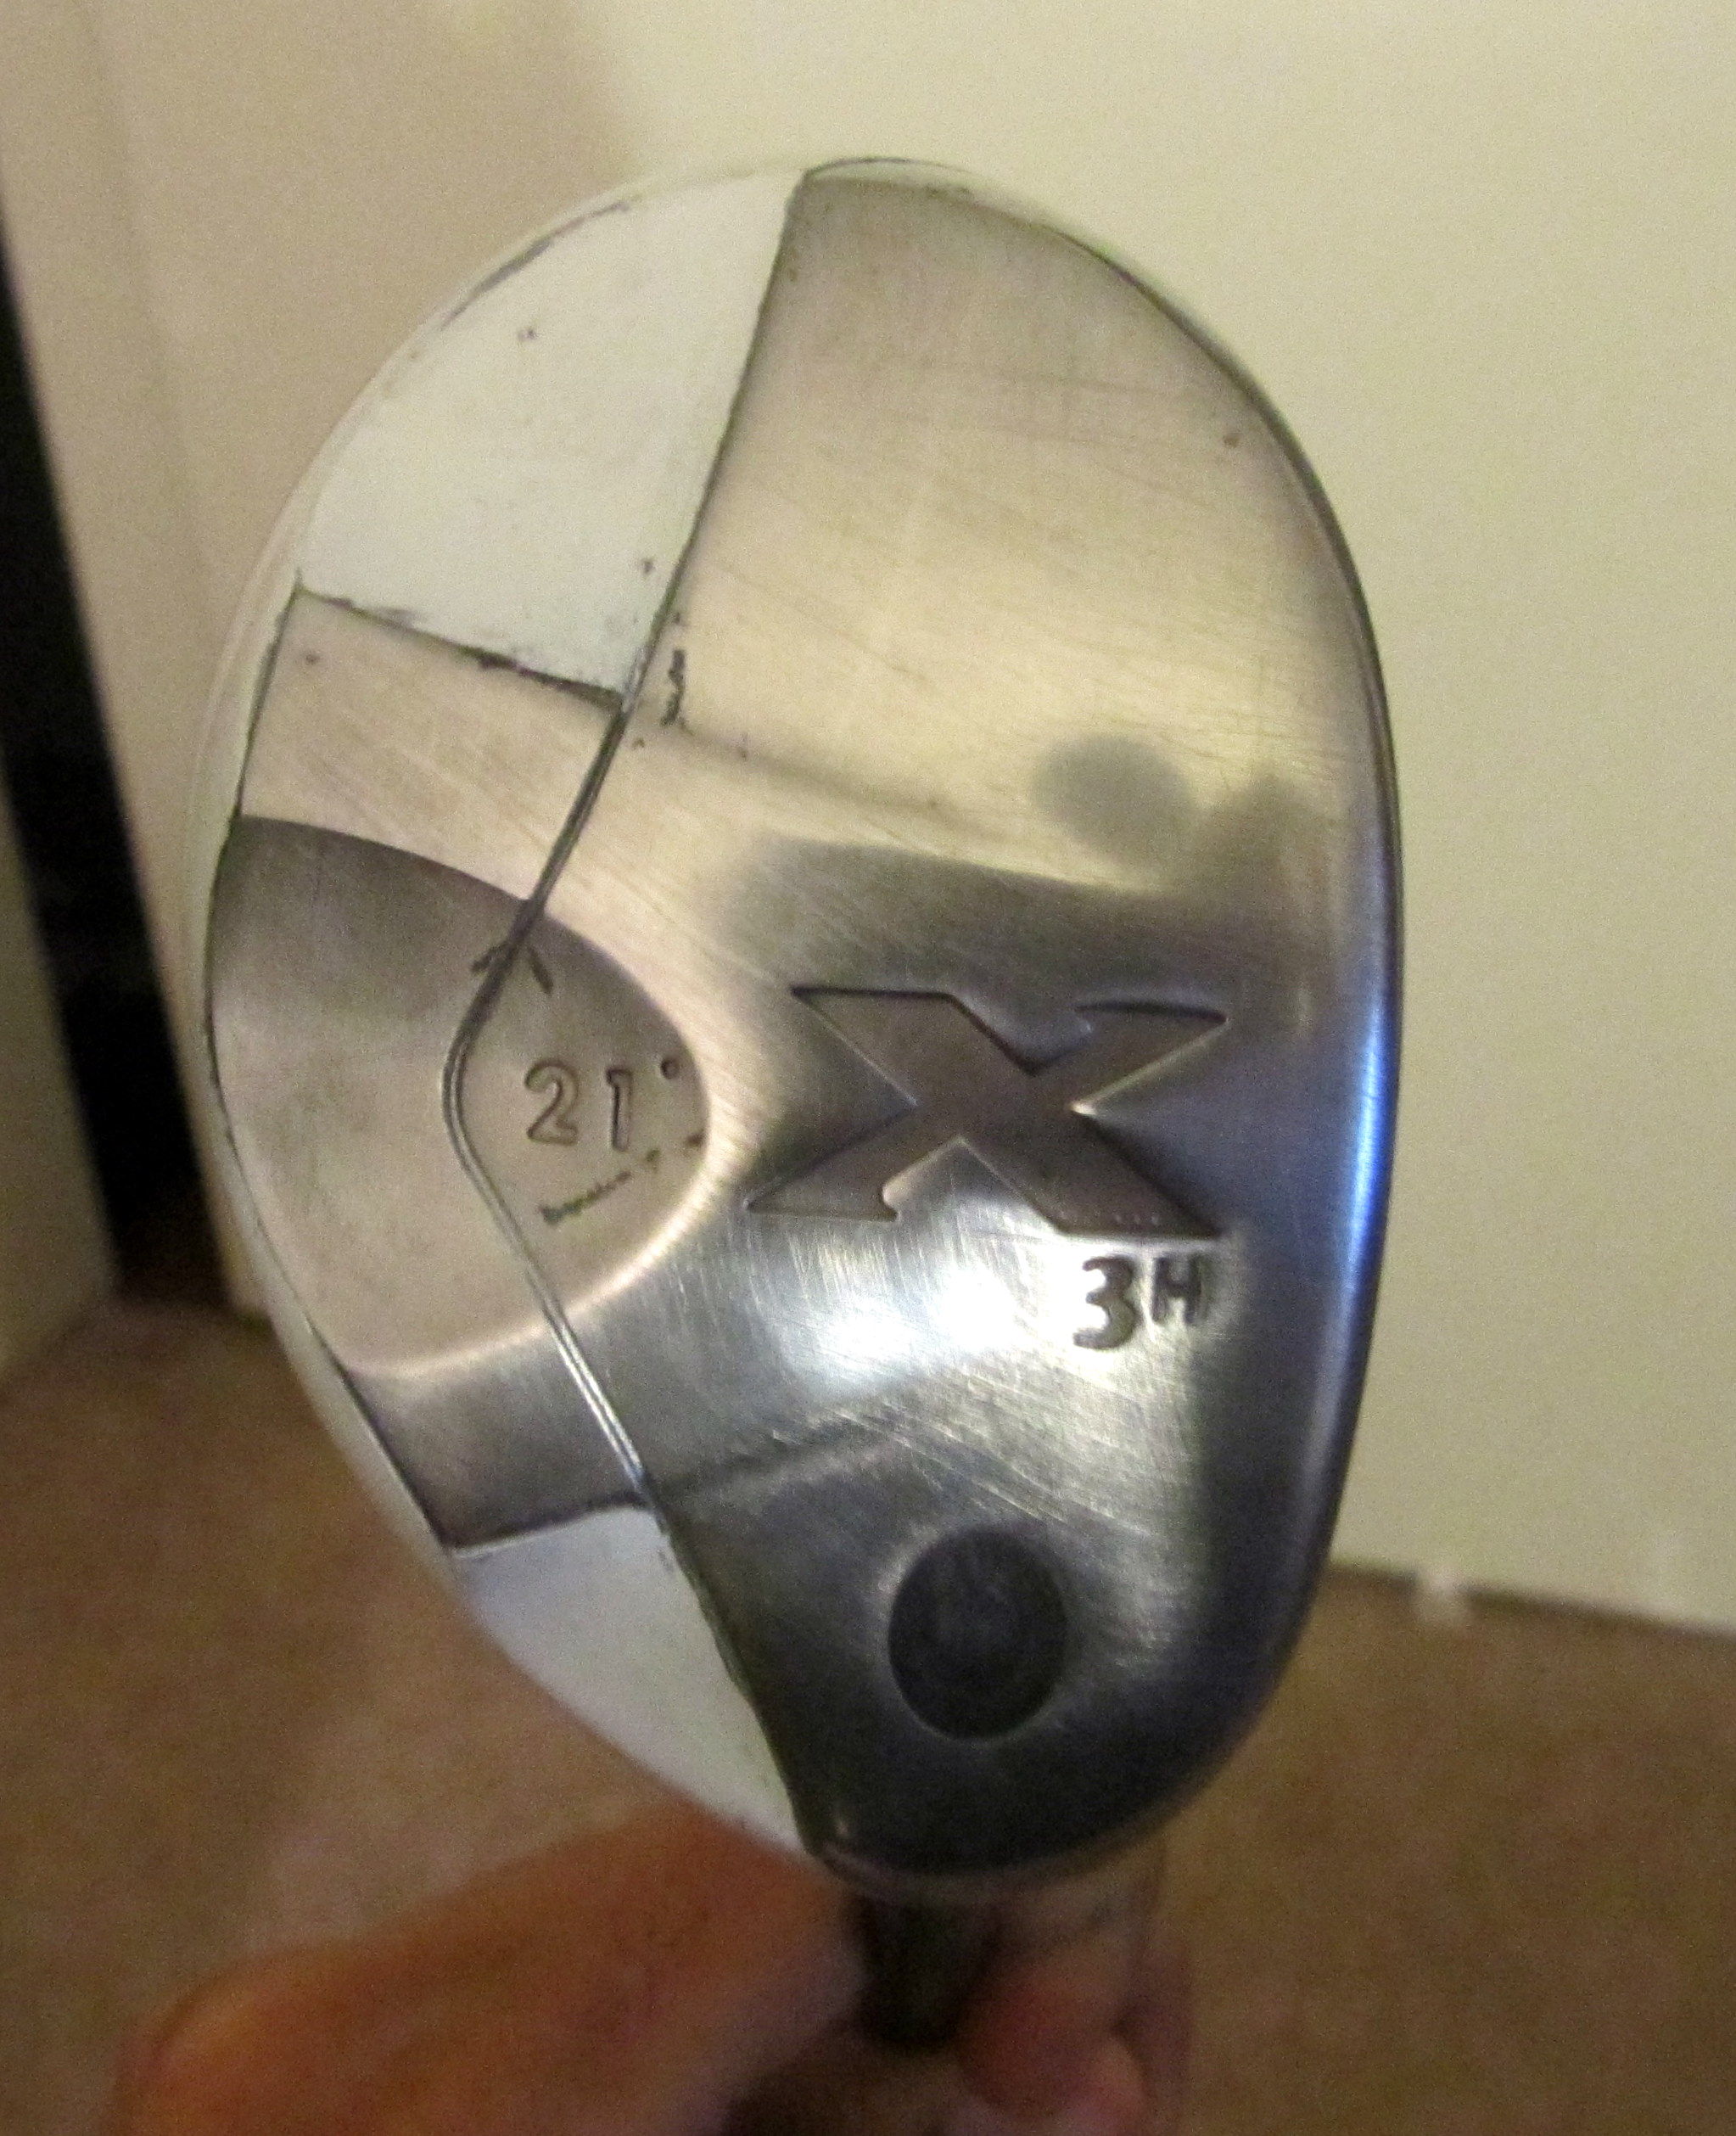
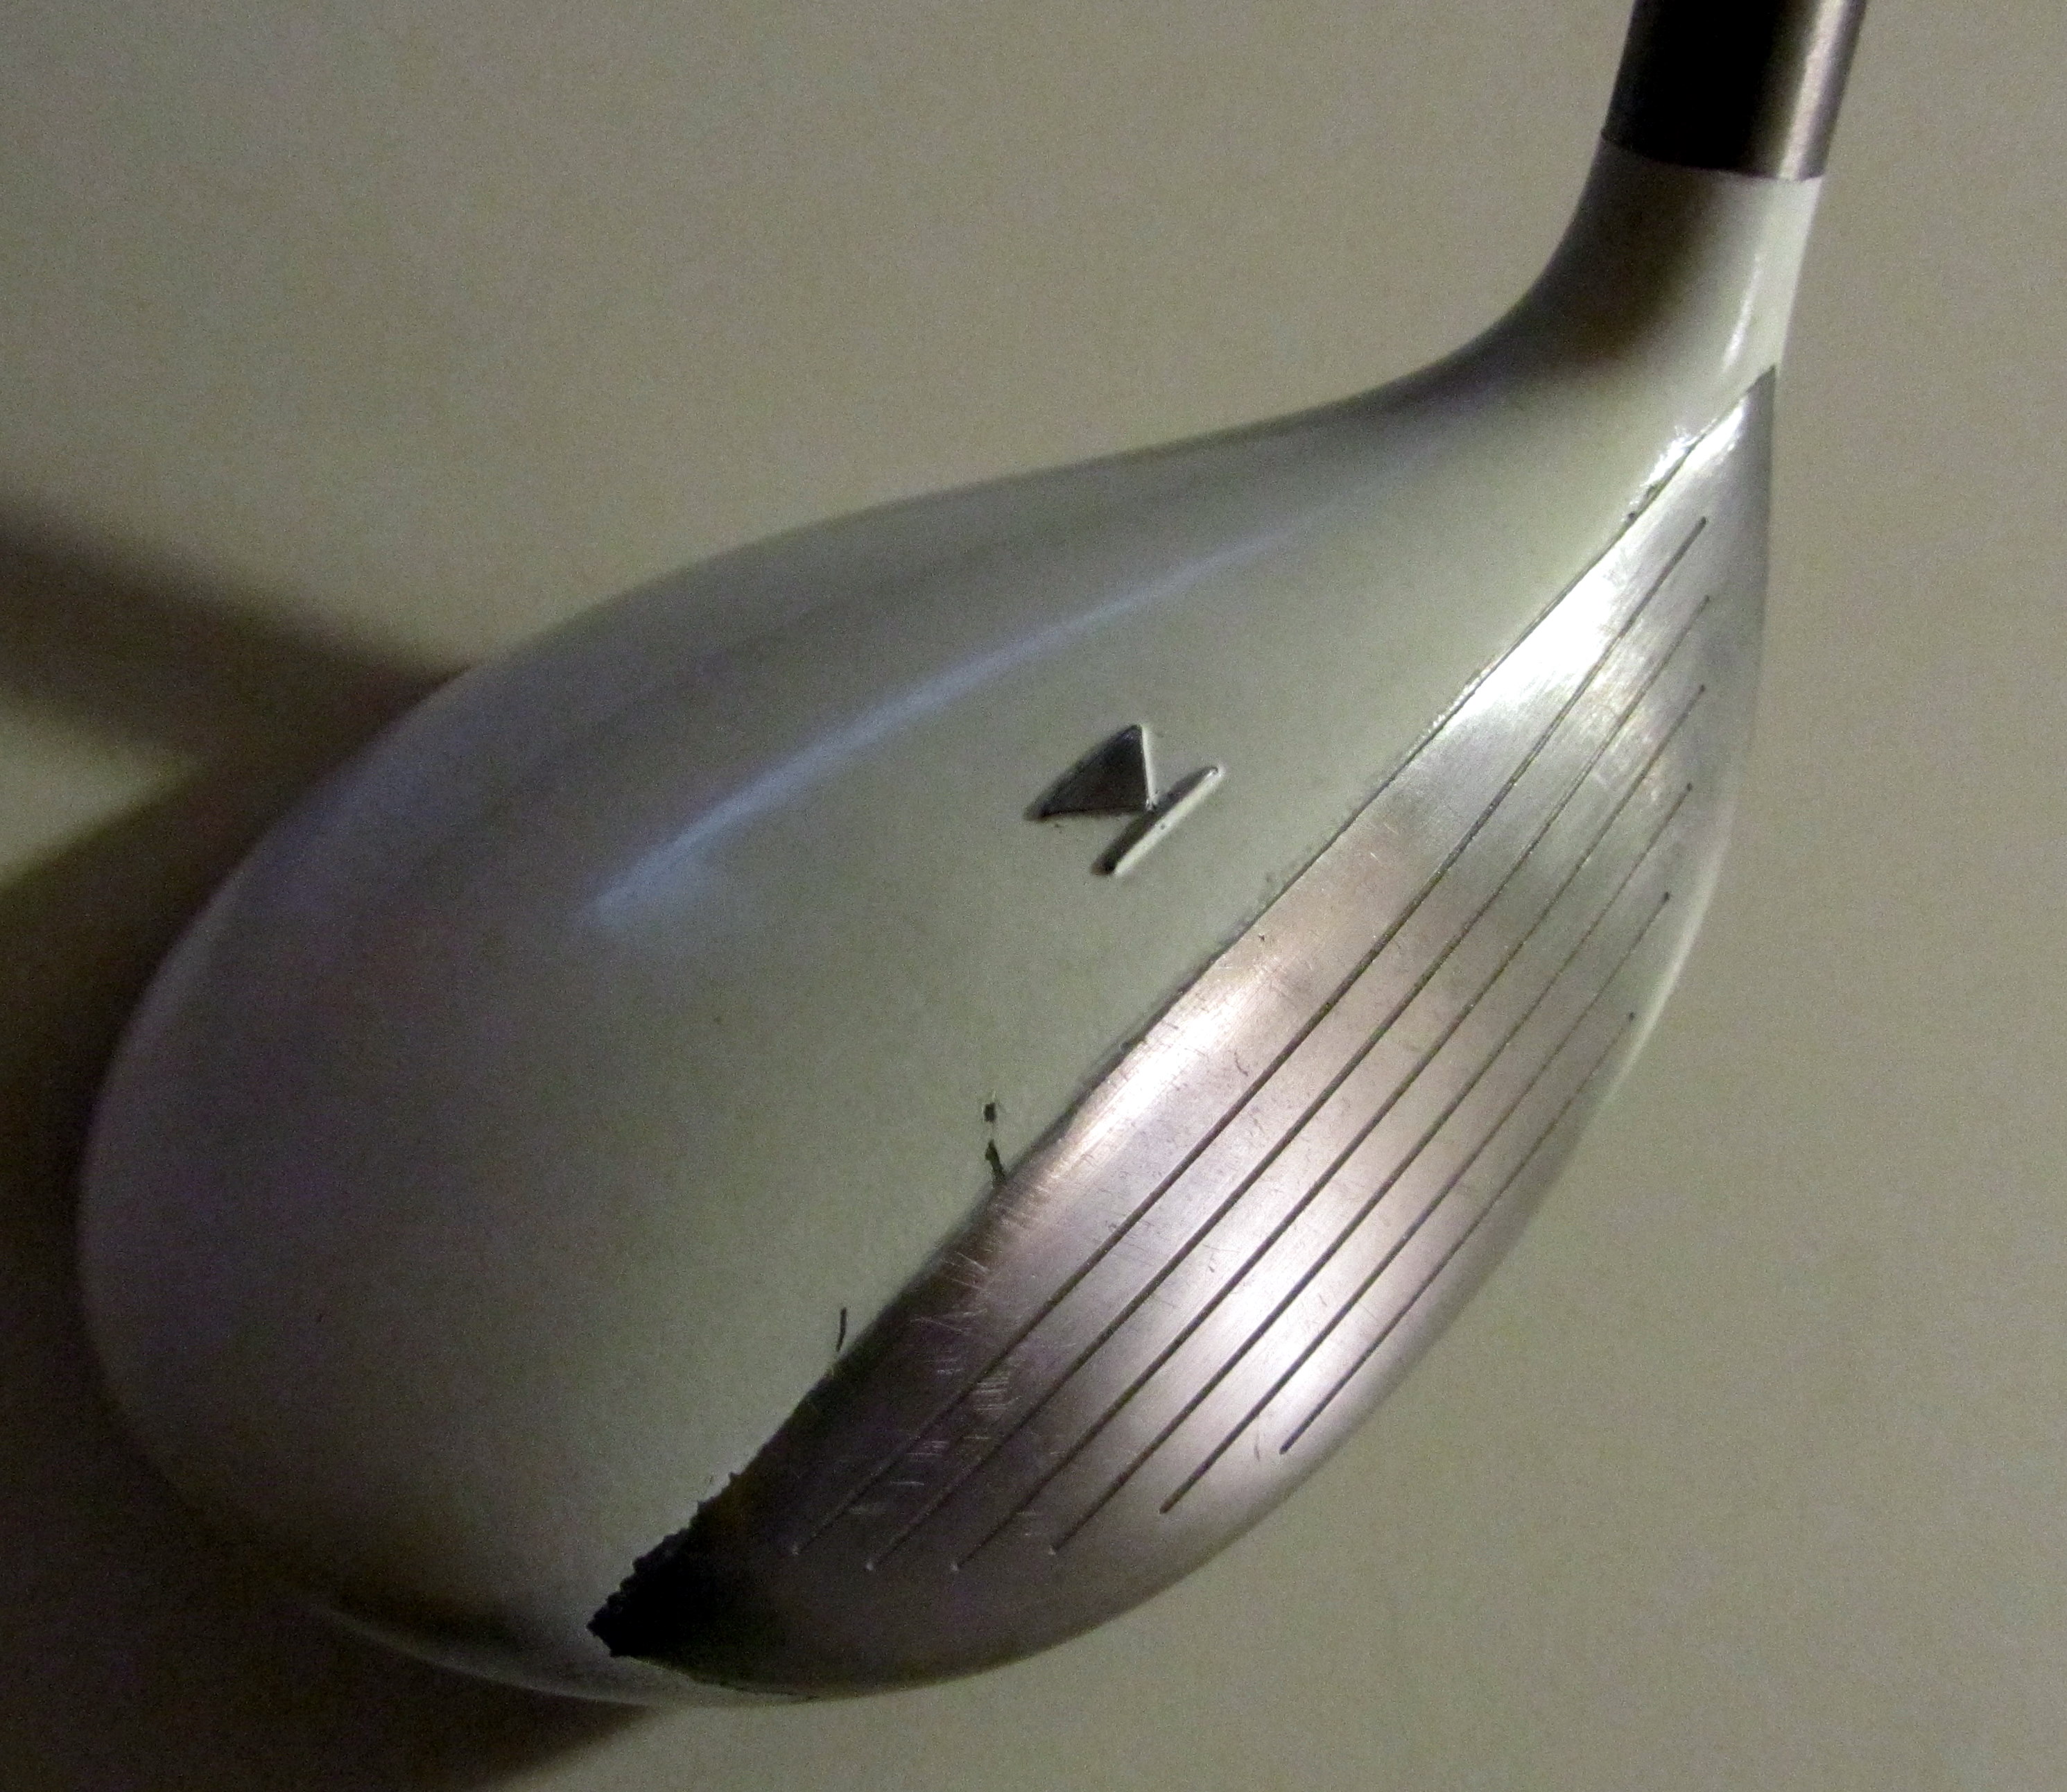
3) Take as much time as you can with the taping. At no point do you want to have to free hand the edges with a blade. Otherwise you’ll end up with scratches. See, for example, the face of my 3w :(.
4) Don’t use too much paint on any one layer – you’ll end up with something that looks like the Callaway hybrid here.
Tips:
1) Use the paint stripper (Mar-hyde brand Tal-Strip Paint remover) I used in the previous post: Quick Tip: New Life for Old Irons. This stuff works great for getting the paint off the crown of the club too. Rather than the labor of sanding, the paint will simply flake off 10 minutes after you spray it on. WARNING – use proper eye, nose, face, and skin protection when using this substance. I accidentally touched a glove that had some on it with my bare hand and it burned like crazy. This method is MUCH easier than sanding.
2) Be EXTREMELY careful during the sanding process around any edge and any place where paint meets tape. These are the most likely areas for breakage. If you’re particularly worried, don’t sand these areas until the paint cures after 4-5 days.
3) JK recommends waiting 15 minutes between coats. I waited 20 between coats on the driver and really like the results. be your own judge, but don’t tack cloth the club until the paint is dry to the touch. This is a mistake I made with the hybrid and the result was mediocre at best.
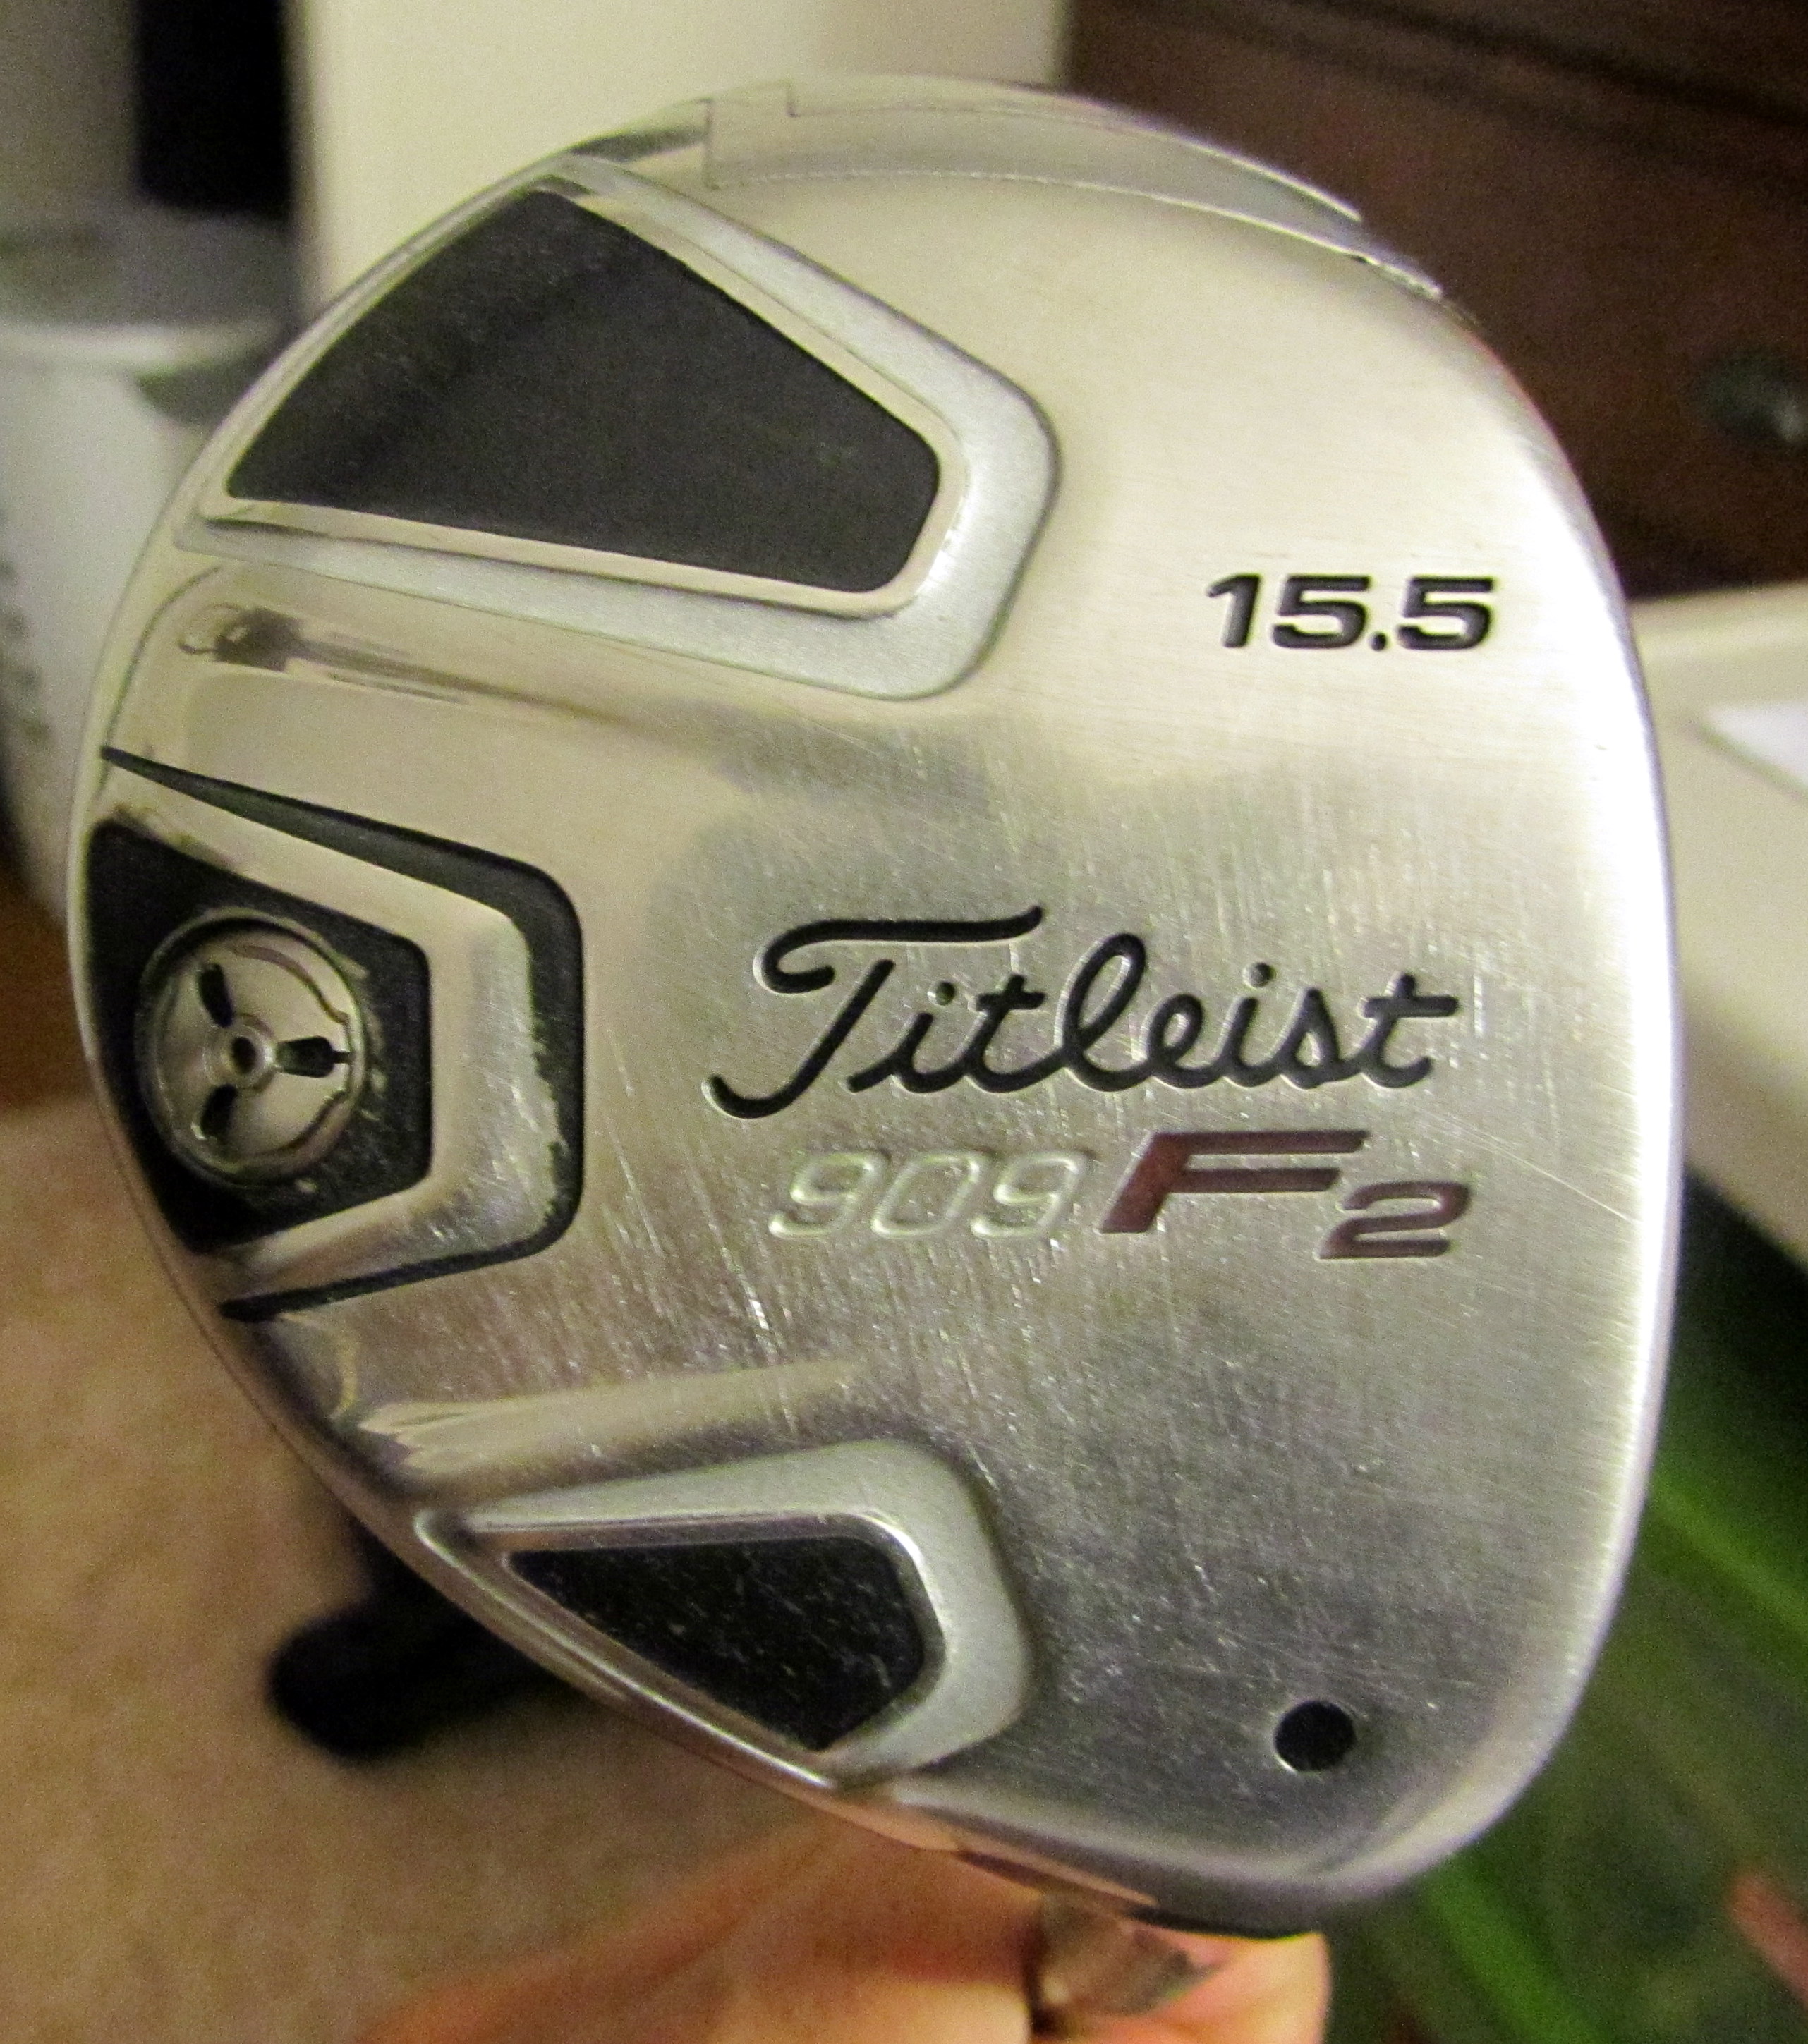
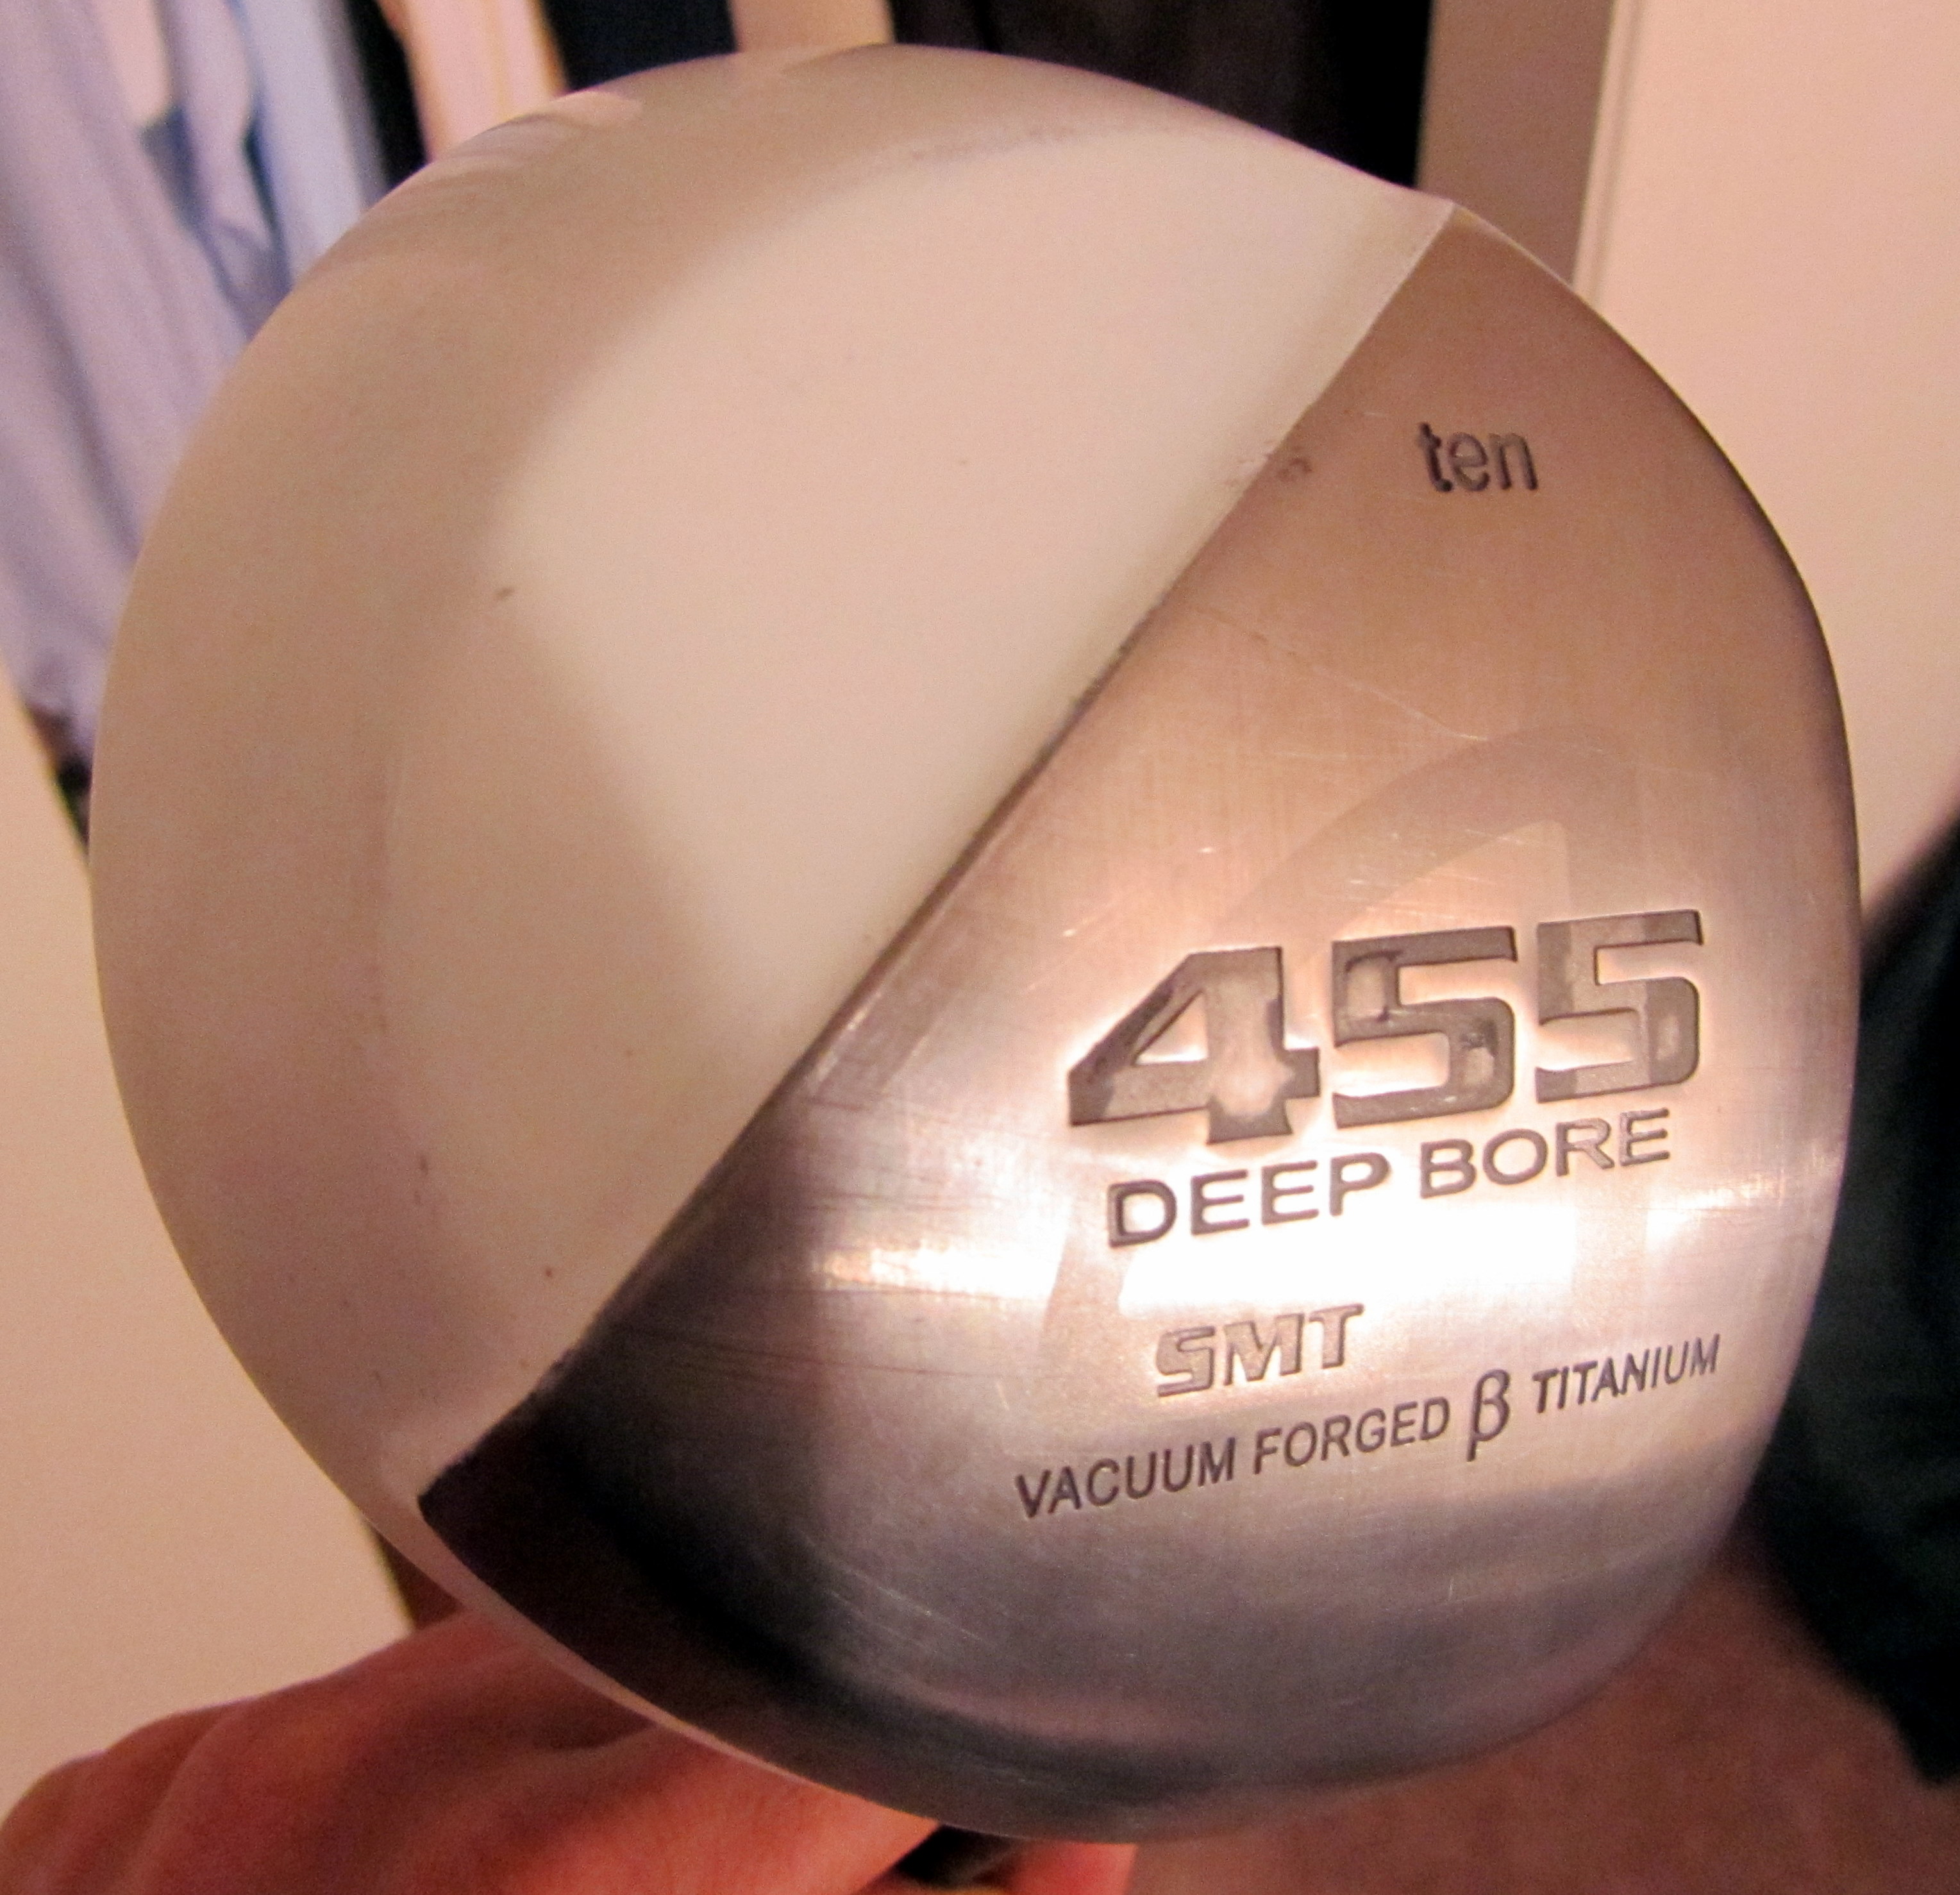
4) If you have a lot of scuff marks on the face of your club, you can smooth them down, and in some cases get rid of them all together by giving them a good sanding with the 2000 grit sandpaper you have left over. This really cleaned up the face of my SMT driver and the non-grooved parts of my 3w and hybrid. See for yourself!
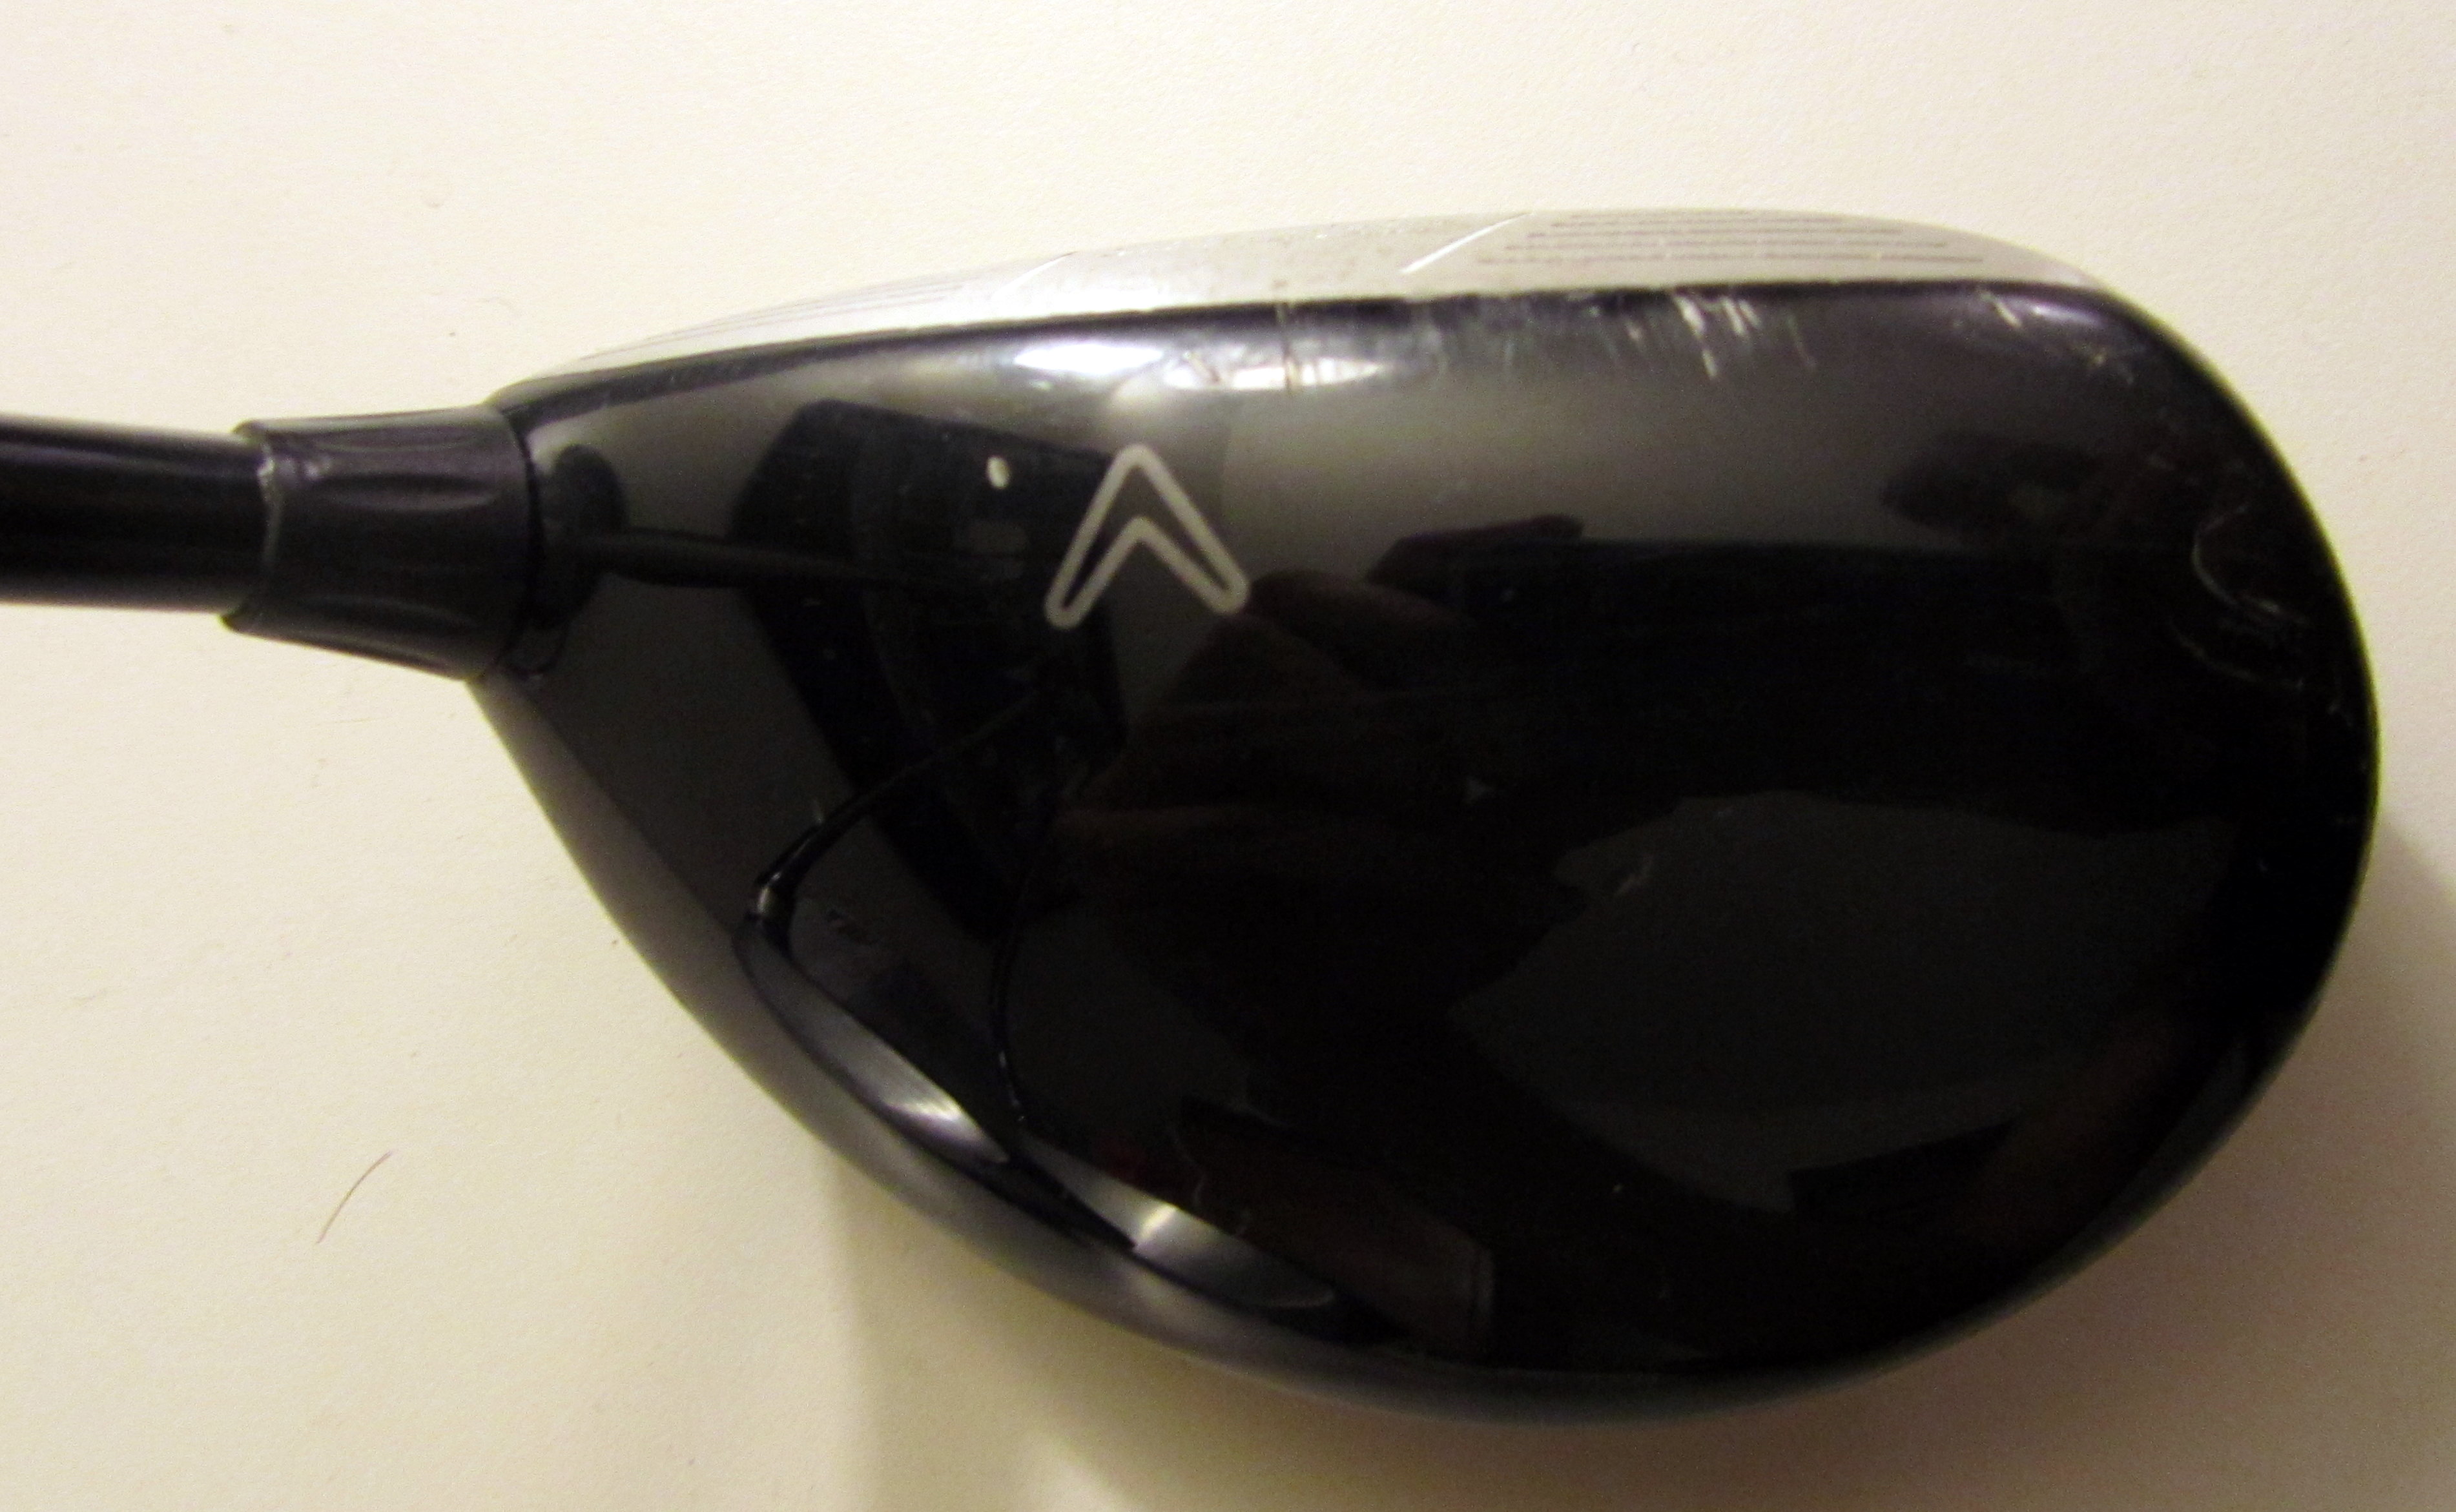
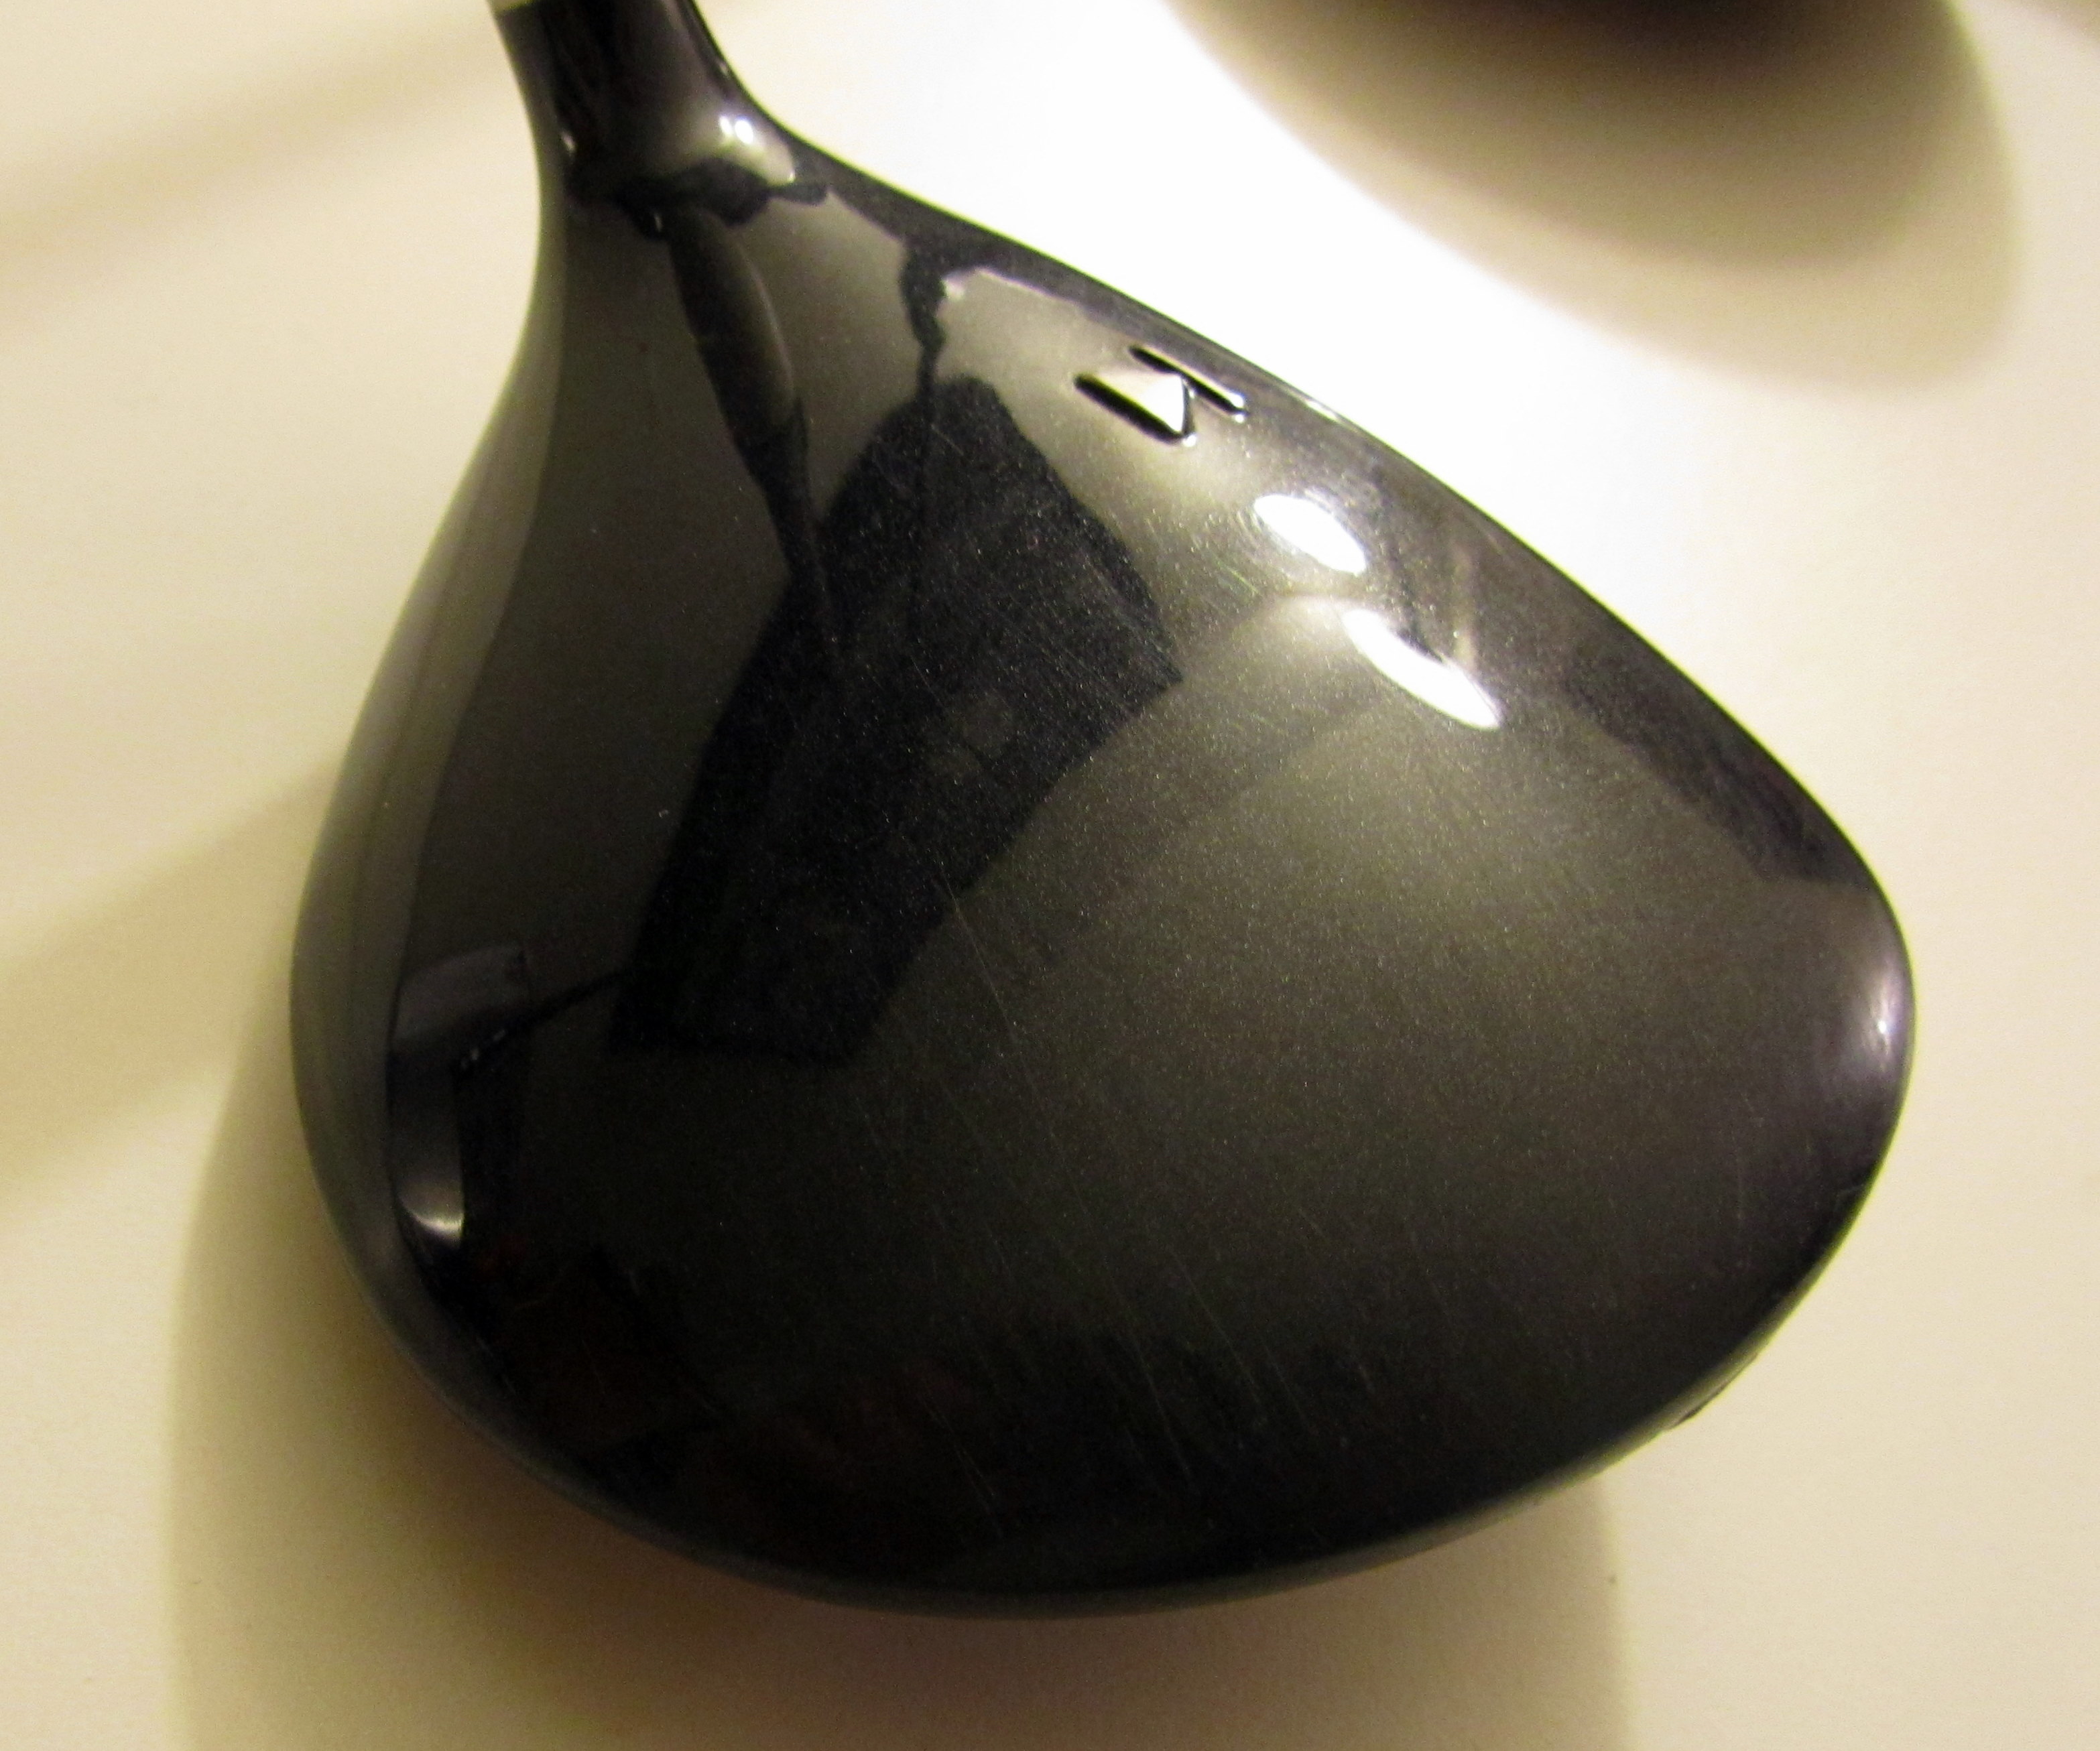
5) Raised symbols/alignment markers – I was worried about painting over the arrow/line that are on the crown of the Titleist 3w. I wanted them to stand out even after the new paint job because I like to use them to line up shots. In order to make sure they’d show up, I took a razer and carefully cleaned off all the layers of paint that had built up on them prior to applying the clear coat. I later realized this was probably unnecessary due to the sanding process. JK did not do this and his results turned out just fine. I also recommend the use of a metal needle for really fine clean-up jobs.
All in all, I consider this attempt a good learning step toward the final product that I hope to achieve. Consider the above pictures a decent first attempt, but a promise that better results can be achieved with a little practice. Next up, I will see how long this paint job lasts and hopefully come up with another color that is more forgiving to try next time. Like JK says about this kind of painting, there’s a certain comfort you can take in knowing that if you mess up, all you have to do is spray the paint remover on and start over again.
Happy Painting!


January 8, 2011 at 2:36 am
cool