Club Repair: Restoring a Putter (part 2) and Review of Caswell Blackener (part 2)
January 7, 2012
This post follows up on the Caswell Stainless Blackener post found at https://thepowerfade.wordpress.com/2012/01/03/restoration-and-review-caswell-stainless-blackener/ and on the Club Repair post found at https://thepowerfade.wordpress.com/2011/12/12/club-repair-restoring-a-putter-part-1/.
I decided that, although the Caswell was helpful, it was not perfect. Thus, I went ahead and smoothed out the dings. I used a flat file to take out the big dings (if you decide to do this, you must be very careful wit the flat file–it can do a lot of damage). Then, progressive sanding with 60 grit, 180 grit, and then 400 grit sandpaper smoothed out most of the dings. In some cases, I did have to go back with the 60 grit because the scratches with the flat file were very evident. Even then, I still haven’t totally gotten all of the marks off of it.
The reason I did not go beyond 400 grit in this case is twofold: first, I didn’t have the time to get everything perfect and make a mirror shine. The several dings that are there would be much more evident if the rest of the putter were mirror finished; second, I wanted to keep the mill marks on the face, which meant no sanding of the face of the putter. I reasoned that, if I didn’t go beyond 400 grit, the face wouldn’t look too far off from the rest of the putter (since I don’t have a bead blasting cabinet). The process and results are below.
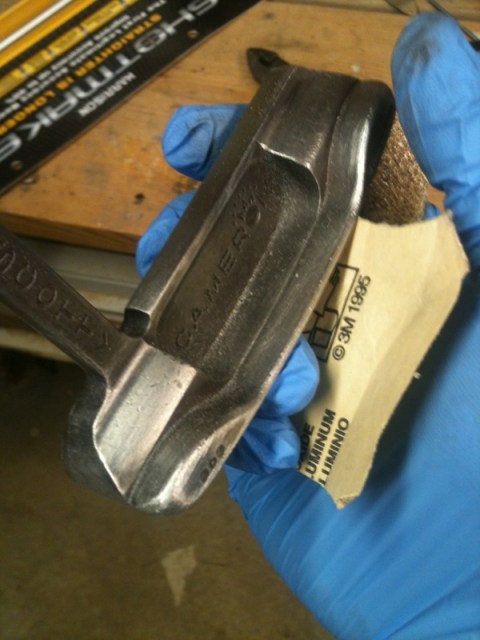
Here is the head before significant sanding. You can see that the blackener worked well before. Part of the sanding will help me take off that blackened finish.

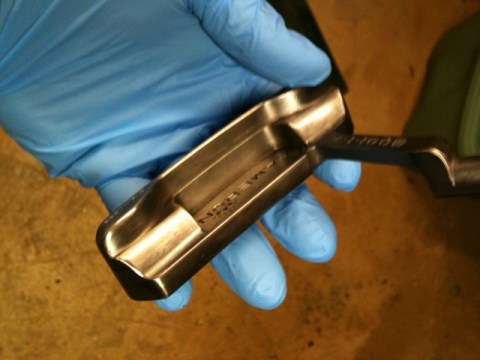
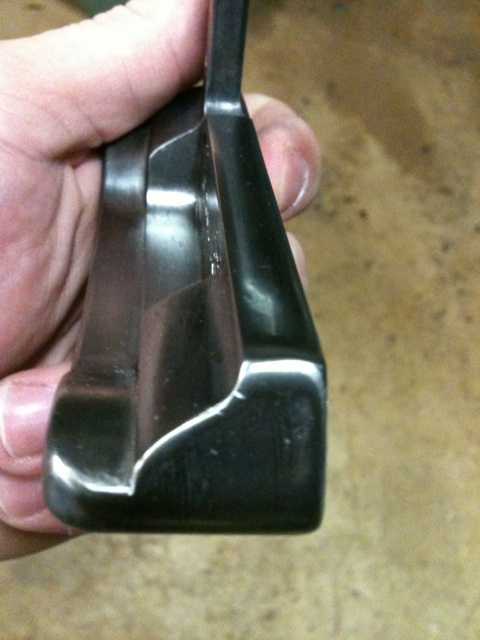
When the sole is partially sanded and partially blackened, it’s easy to see where the dings are. Ouch!

I’m staying away from the face as much as possible. The dings on the top line are hard to deal with when doing this because you can’t easily smooth them out without affecting the mill marks. I’ll do my best.

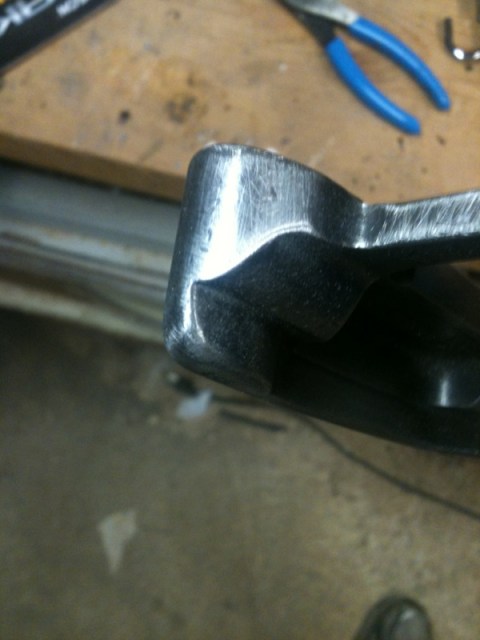
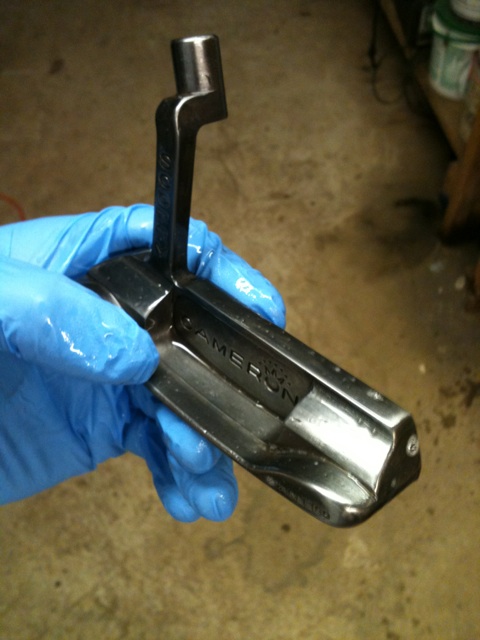
See how much smoother the heel is now that it’s been filed and 60-gritted?
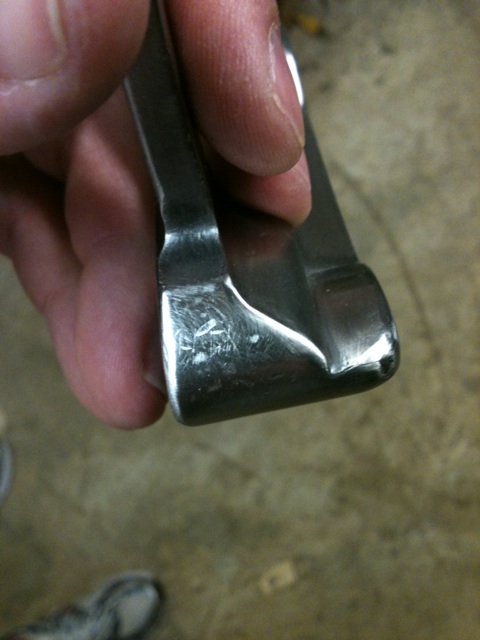
The top line looks 1000x better now.

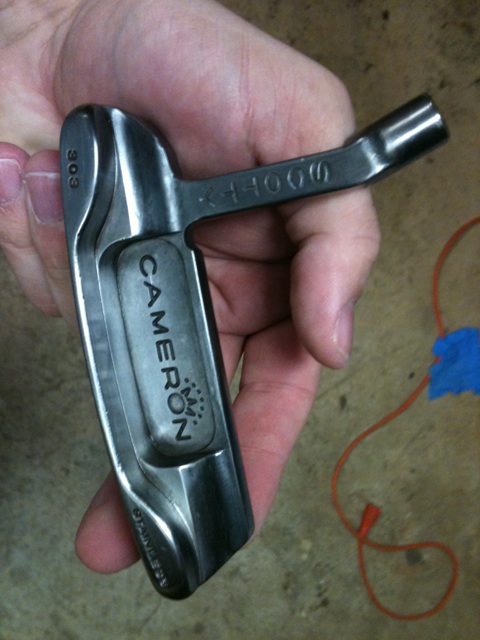
And now, after complete sanding with progressive grits, you can see there is a little shine to the head, but not like the mirror finish in other posts (see https://thepowerfade.wordpress.com/2011/12/12/club-repair-restoring-a-putter-part-1/)


I’ve cleaned up the face just a bit with 400 grit paper to help the blackener stay smooth.

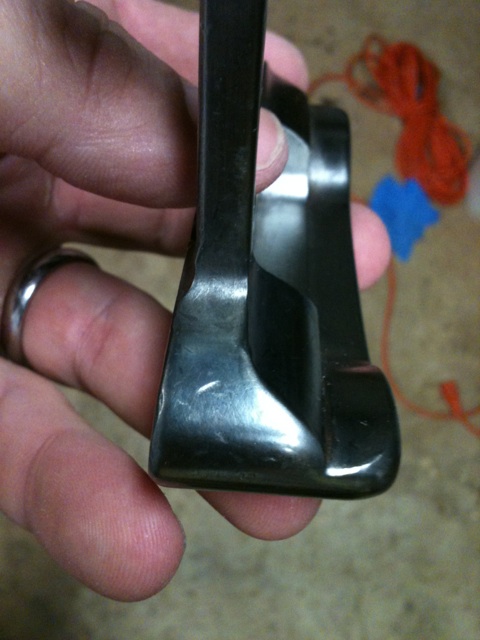
Here’s the final top line. Looks a lot better

Blackening was virtually the same process. This time, I used much less blackening paste and it worked out about the same, so conserve that stuff. It aint cheap.
I worked the blackener around with a GLOVED HAND (wear a glove, or your hands will really stink) to smooth it out. When the blackening was about even and had been on for a minute or so, I quenched it in a bucket of cold water and rubbed all of the paste off. Then I smoothed out the blackener by rubbing any uneven spots with steel wool. The result looks pretty good. (The wet looking photos have the sealer applied).


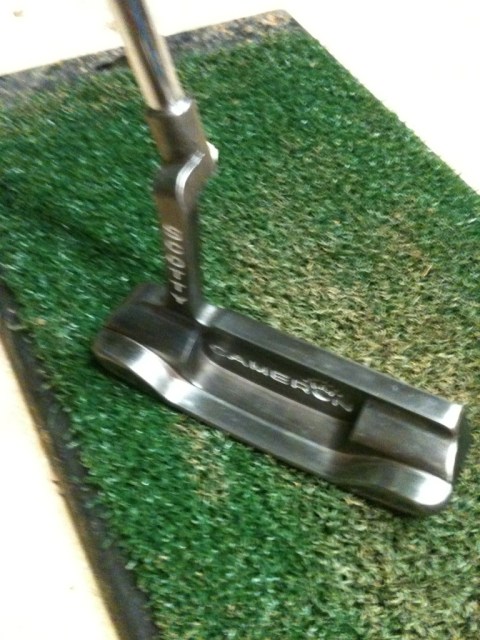
Altogether, not too bad. Here’s the final product:

Adding a little paint fill (there’s still more to go)

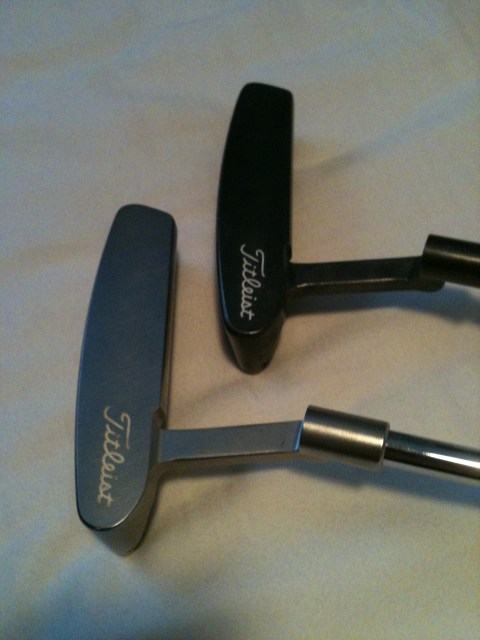
The color is kind of hard to see in the photos. Here’s a comparison to my stock Newport Beach.


June 26, 2012 at 4:03 pm
Great job. Just doing this to my Scotty after reading your restoration. I took a few pics before and will have some after but yours turned out well, hope mine looks as good. If this works as well as I think it will I’ll do another and take more pics to help out all wannabee putter diy’s. 🙂