This post follows up on the Caswell Stainless Blackener post found at https://thepowerfade.wordpress.com/2012/01/03/restoration-and-review-caswell-stainless-blackener/ and on the Club Repair post found at https://thepowerfade.wordpress.com/2011/12/12/club-repair-restoring-a-putter-part-1/.
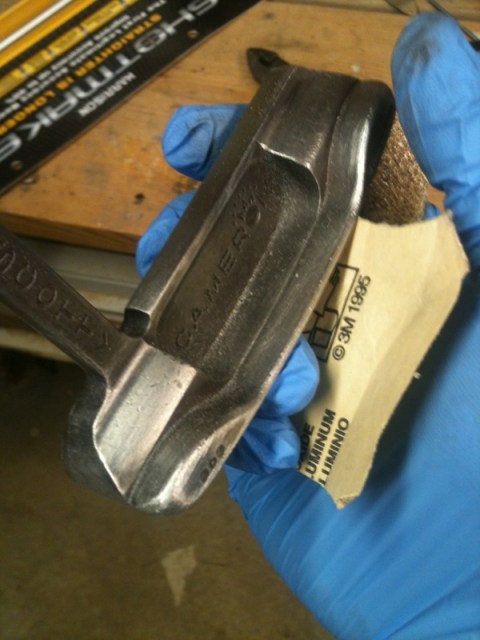
I decided that, although the Caswell was helpful, it was not perfect. Thus, I went ahead and smoothed out the dings. I used a flat file to take out the big dings (if you decide to do this, you must be very careful wit the flat file–it can do a lot of damage). Then, progressive sanding with 60 grit, 180 grit, and then 400 grit sandpaper smoothed out most of the dings. In some cases, I did have to go back with the 60 grit because the scratches with the flat file were very evident. Even then, I still haven’t totally gotten all of the marks off of it.
The reason I did not go beyond 400 grit in this case is twofold: first, I didn’t have the time to get everything perfect and make a mirror shine. The several dings that are there would be much more evident if the rest of the putter were mirror finished; second, I wanted to keep the mill marks on the face, which meant no sanding of the face of the putter. I reasoned that, if I didn’t go beyond 400 grit, the face wouldn’t look too far off from the rest of the putter (since I don’t have a bead blasting cabinet). The process and results are below.
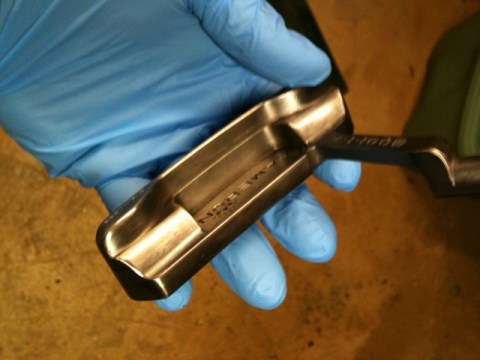
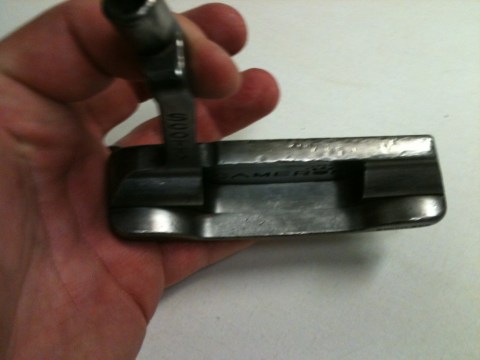
Here is the head before significant sanding. You can see that the blackener worked well before. Part of the sanding will help me take off that blackened finish.

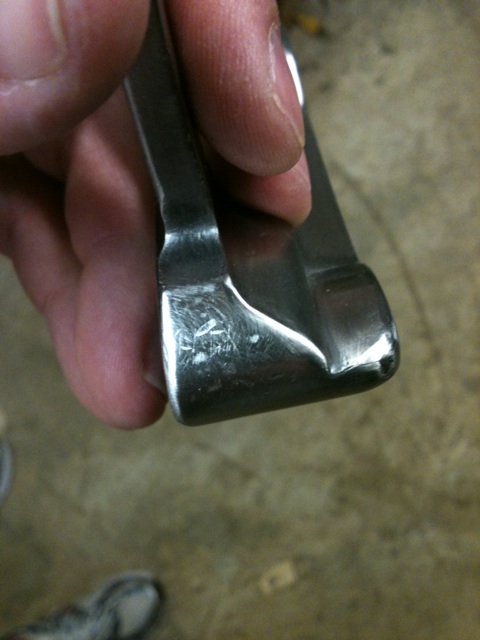
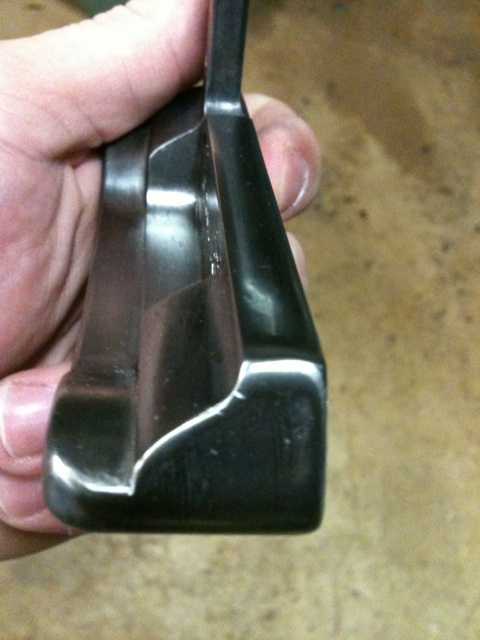
When the sole is partially sanded and partially blackened, it’s easy to see where the dings are. Ouch!

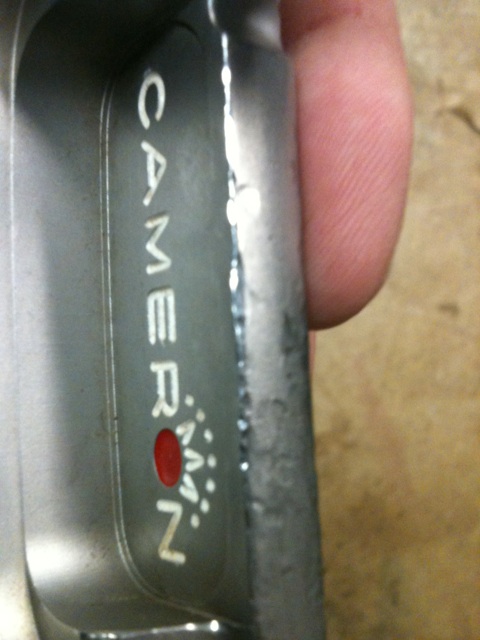
I’m staying away from the face as much as possible. The dings on the top line are hard to deal with when doing this because you can’t easily smooth them out without affecting the mill marks. I’ll do my best.

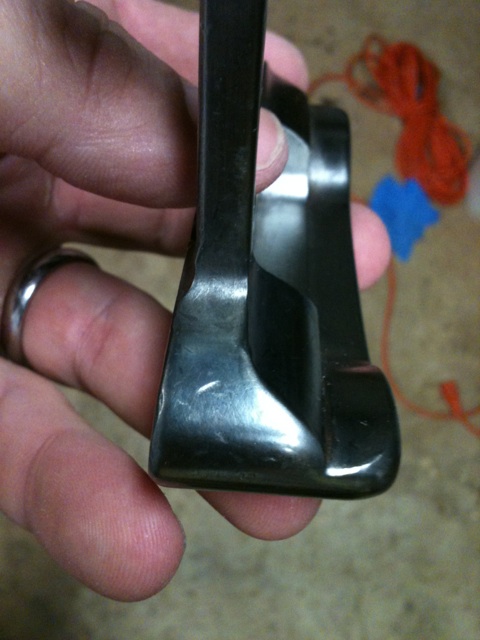
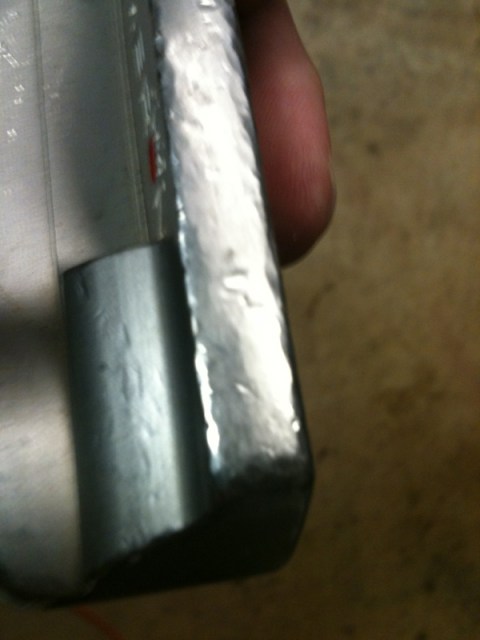
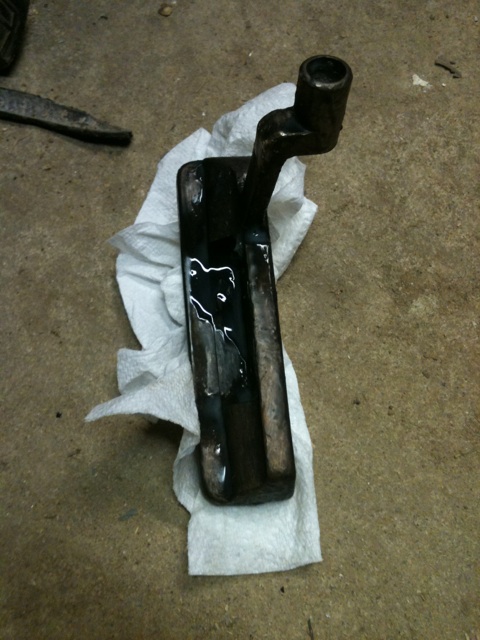
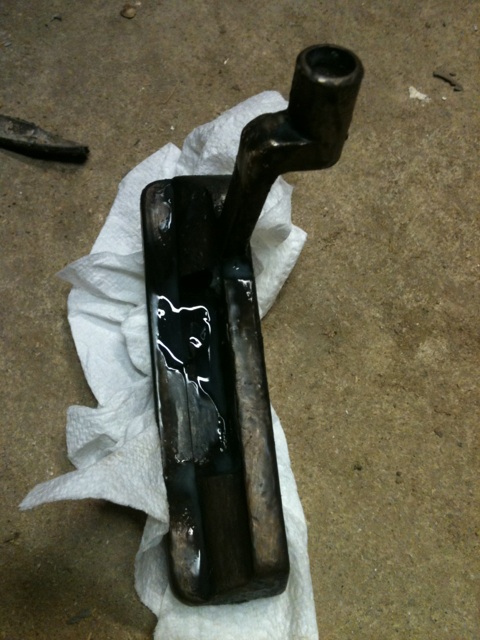
See how much smoother the heel is now that it’s been filed and 60-gritted?
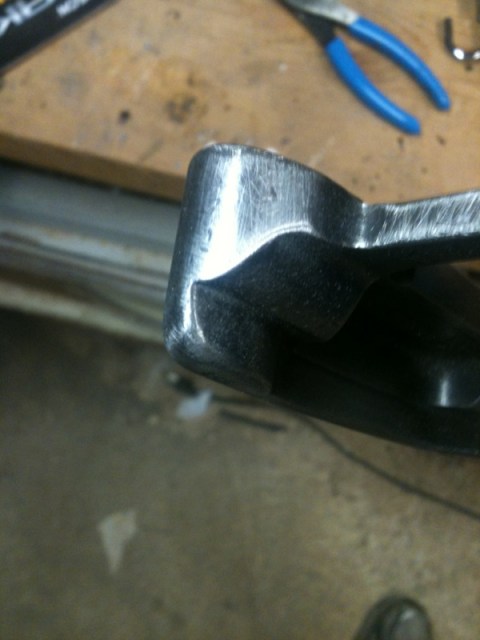
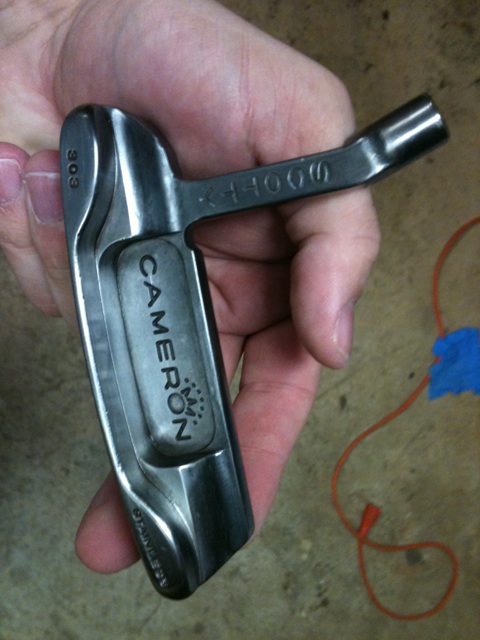
The top line looks 1000x better now.

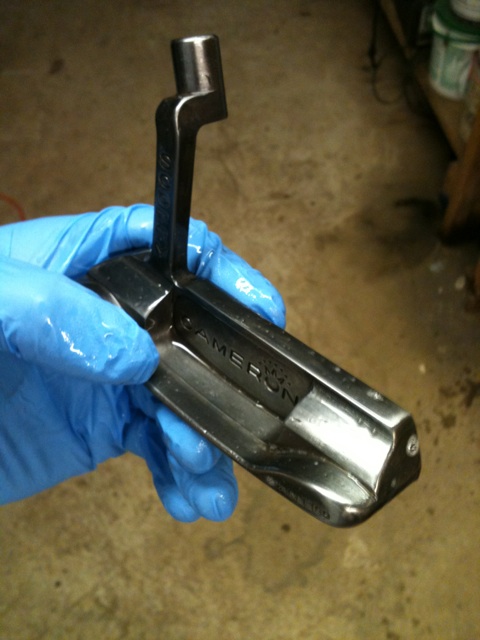
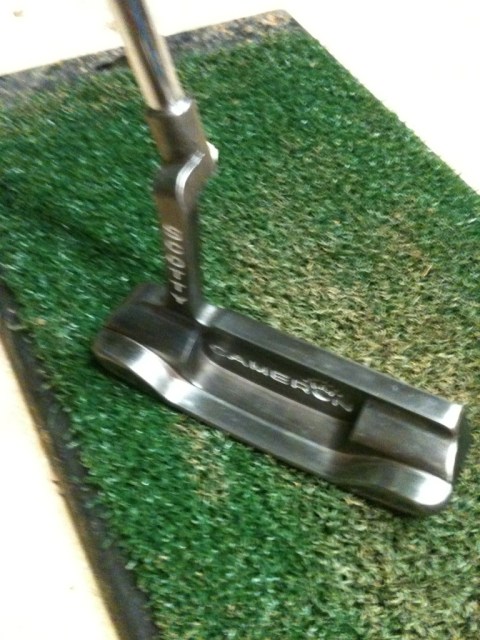
And now, after complete sanding with progressive grits, you can see there is a little shine to the head, but not like the mirror finish in other posts (see https://thepowerfade.wordpress.com/2011/12/12/club-repair-restoring-a-putter-part-1/)


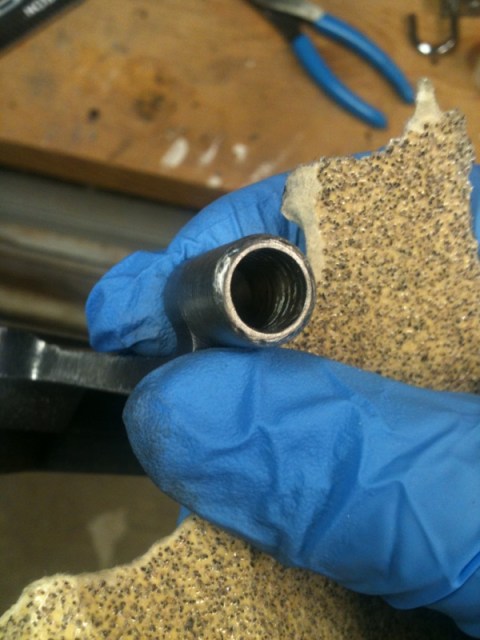
I’ve cleaned up the face just a bit with 400 grit paper to help the blackener stay smooth.

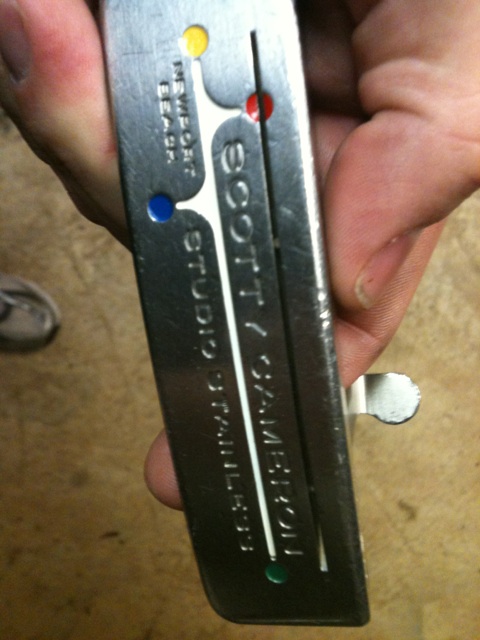
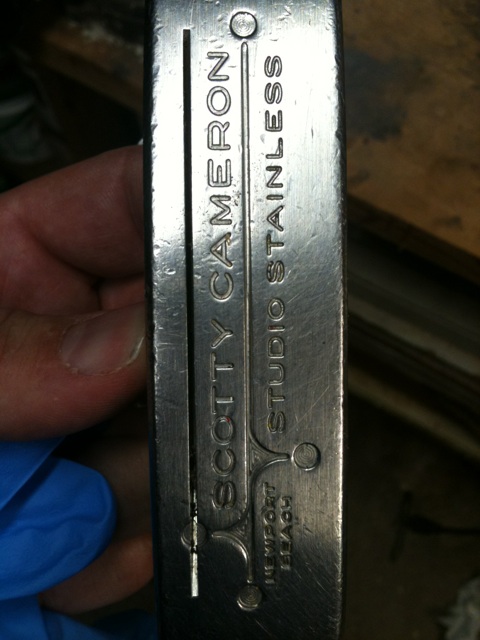
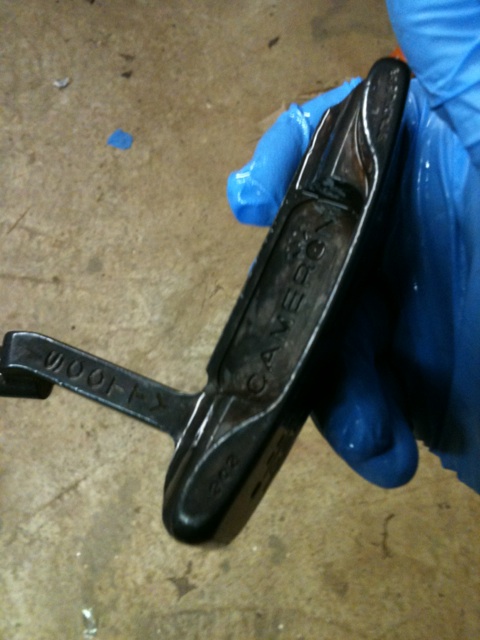
Here’s the final top line. Looks a lot better

Blackening was virtually the same process. This time, I used much less blackening paste and it worked out about the same, so conserve that stuff. It aint cheap.
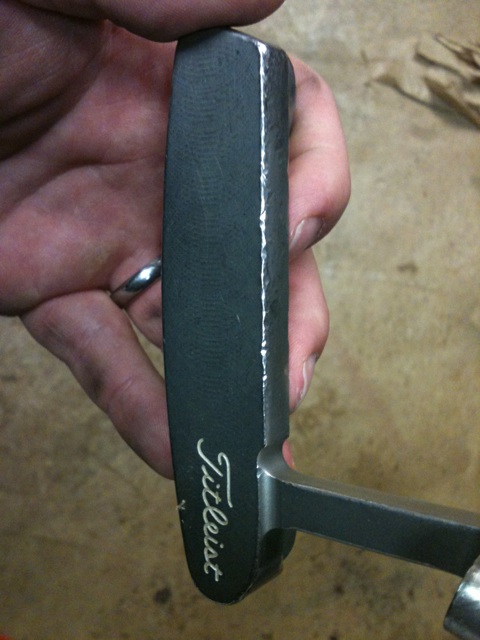
I worked the blackener around with a GLOVED HAND (wear a glove, or your hands will really stink) to smooth it out. When the blackening was about even and had been on for a minute or so, I quenched it in a bucket of cold water and rubbed all of the paste off. Then I smoothed out the blackener by rubbing any uneven spots with steel wool. The result looks pretty good. (The wet looking photos have the sealer applied).


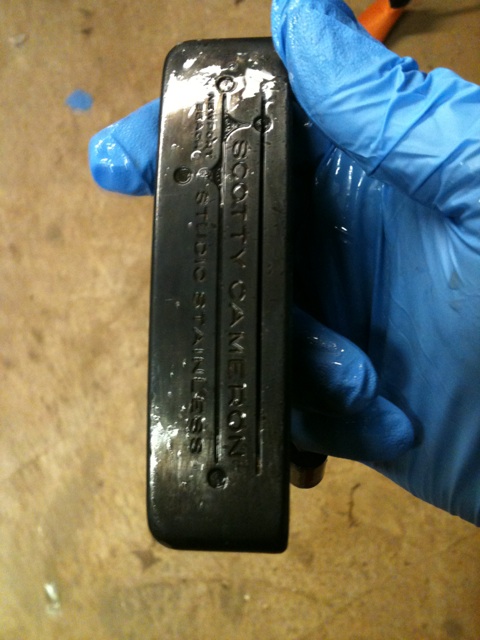
Altogether, not too bad. Here’s the final product:

Adding a little paint fill (there’s still more to go)

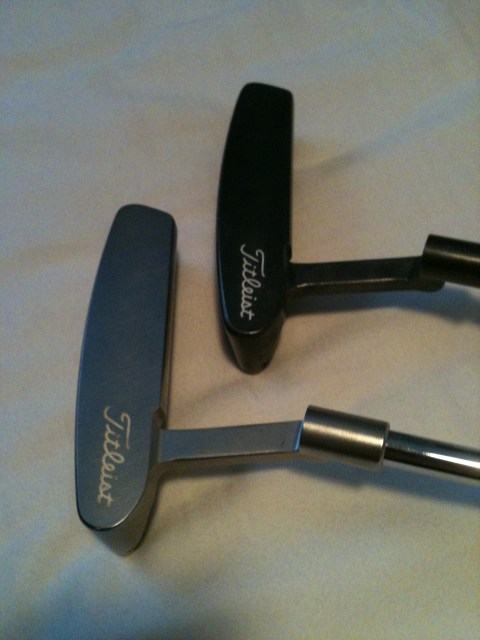
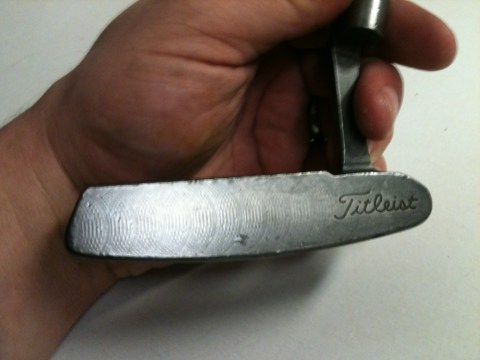
The color is kind of hard to see in the photos. Here’s a comparison to my stock Newport Beach.

Restoration and Review: Caswell Stainless Blackener
January 3, 2012
This post is a restoration of a Scotty Cameron Newport Beach that has seen better days. The purpose of this is to review Caswell’s Stainless Blackener product.
The putter is seen in the photos below before restoration.


As you can see, it’s had a rough time. I’m hoping to show that it’s possible to make a putter look better simply by blackening the finish. I’m not sure what I’ll get here.
The first step is to remove all of the paint fill. Don’t mess around with acetone, as it can take awhile. Instead, as LG noted in his post on removing paint fill from irons (see https://thepowerfade.wordpress.com/2010/12/17/quick-tip-new-life-for-old-irons/), automotive paint stripper works very well and very quickly with little work.
The process of putting the blackening on can be done several different ways. This blackener is gel. Once the blackener is applied, a sealant is used. Both are included with the kit:

First, you must clean the steel with water. Soap would probably help. The instructions say “clean until it passes a water break test.” Essentially, clean it until water flows over it evenly, without breaking.
The blackener is applied by simply placing on the putter and allowing it to work. I found that it worked best for me if I used a gloved hand (VERY IMPORTANT OR YOUR HANDS WILL STINK LIKE CRAZY) and continuously rubbed it around. This process helped get a little more even coating.


When finished, rinse with water and apply the sealant.

Once the sealant is applied, the putter is virtually done. Clean it up with water and take photos


This process was remarkably easy. Although it didn’t turn out as well as some of the professionally blackened putters, it nonetheless has real potential to turn out that way if continuously applied. A few more applications and I’m certain it would be nice and dark.
I got this kit second hand for $25. I believe they’re around $40 new, but there is enough to do a number of putters if you chose to.
As for results, well, it doesn’t look perfect. And, as I often find with putter finishing, the better-prepped the surface, the better the finish looks. For example, on this putter, the sole turned out the best with a nice dark, even color. However, it does look better than it used to, and it did give me a chance to play around with this stuff. I’ll do some restoration work, take the dings out, and then re-blacken it in the future.
Cost: 6
Value: 7
Ease of Use: 8
Finish: 8
Overall: 8
We’ll see how it turns out once the full restoration and ding removal happens. I’m sure it would probably give me a much more favorable opinion on this product.
Review: Black Oxide Service (BOSgolf.com)
December 19, 2011
Today I review Black Oxide Service, provider of metal finishing services. bosgolf.com
BOS is well-known in the golf industry–particularly in the putter world–for their outstanding finishing of some of the best-looking clubs in the game. BOS is responsible for the finish of Scotty Cameron’s original Gun Blue Classics line of putters, the line that put Cameron on the map. BOS also has worked on Scratch clubs recently, providing some special finishes for their wedges.
After tinkering around with the idea of refinishing/reworking clubs myself, I got in touch with BOS to clean up some Cameron putters for me. Consistent readers will know that I restored a Cameron TeI3 putter (see https://thepowerfade.wordpress.com/2011/03/16/restoring-a-tei3-long-neck/) but was unhappy with the cold-blue finish, even after several tries to get it right. Although I learned a lot from the restoration process, I decided I wanted something unique, so I sent my putter to BOS for their “Aquamarine” finish, a green-blue hued finish.
Coincidentally, I was able to pick up a Cameron Newport Oil Can putter for a good price. Although the putter did not need much work to repair dings or dents, its finished had been stripped because–according to the prior owner–“it had been left in a garage and was all rusty, so some stuff was put on it to take the rust off.”
Below is what the Newport Oil Can looked like before sending to BOS. Look at the post on restoring the TeI3 (here: https://thepowerfade.wordpress.com/2011/03/16/restoring-a-tei3-long-neck/)for photos as to what that putter looked like before.


The result was utterly stunning:


Refinishes from BOS are not cheap (see http://www.bosgolf.com/finishes.html) However, if you can find an old Scotty Cameron putter for a good price, they can be a cost-effective alternative to the Cameron Custom Shop and can even allow you the ability to customize the finishes yourself–putting something like Aquamarine on a Cameron putter would never be allowed from the Custom Shop. Further, if you just wanted a nice putter that was basically new but didn’t want to spend the $300 for a new Cameron or much more for an old one in good shape, a refinish by BOS can be a great way to get that putter of your dreams for a fraction of the price.
BOS’s customer service was great as well. For the TeI3, some of the finish peeled off. BOS repaired the problem at no charge, and it looks good as new.
Downsides, the cost is pretty high. They refuse to ship anything other than UPS, so shipping is $17.50 for a single putter head (yikes!). But their customer service is fantastic, and although some have complained of long lead times, they got my putters back to me in just a few weeks.
Price: 4
Quality: 8
Turnaround: 7
Customization: 8
Customer Service: 9
Ovarall: 7